It's time to get down and DIY dirty, y'all, with some hot bulletin board action...here's what we're making, in case y'all are too lazy to click to the last post: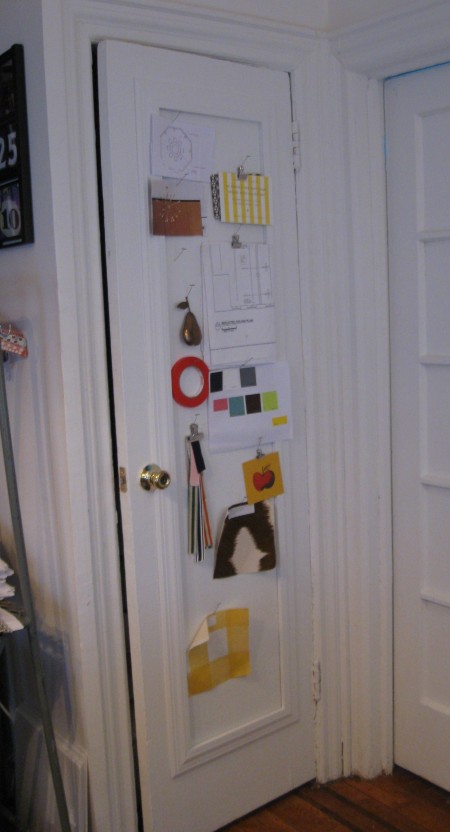
Here's what y'all need to do:
-measure out your inset panel, height and width, or whatever area you want to create a bulletin board in...and then measure it again...of note: this area should be at least 1/2" deep, if you plan on insetting a bulletin board into it and then framing it out...this will make more sense later, keep reading...
-get yourself to a home center or building supply store to purchase the following:
* homosote (hee, hee...I typed HOMO y'all!) This is the material that will become your bulletin board. It's normally used for soundproofing and it comes in 4' x 8' sheets (1/2" thick) for around $25-$30 per sheet. Homosote is a great material for bulletin boards b/c it's cheap, extremely durable and can be painted or upholstered to suit your style. Check this guerilla footage of me cutting my homosote right in the Home Depot PJcuttinghomosote, shot by the uber-talented genius, Chris White Here's what I ended up with:
 *molding/trim- y'all can get as fancy here as you like, I chose a more classic, simplistic profile to stay in line with the existing architecture of my apt so the look is more seamless when completed:
 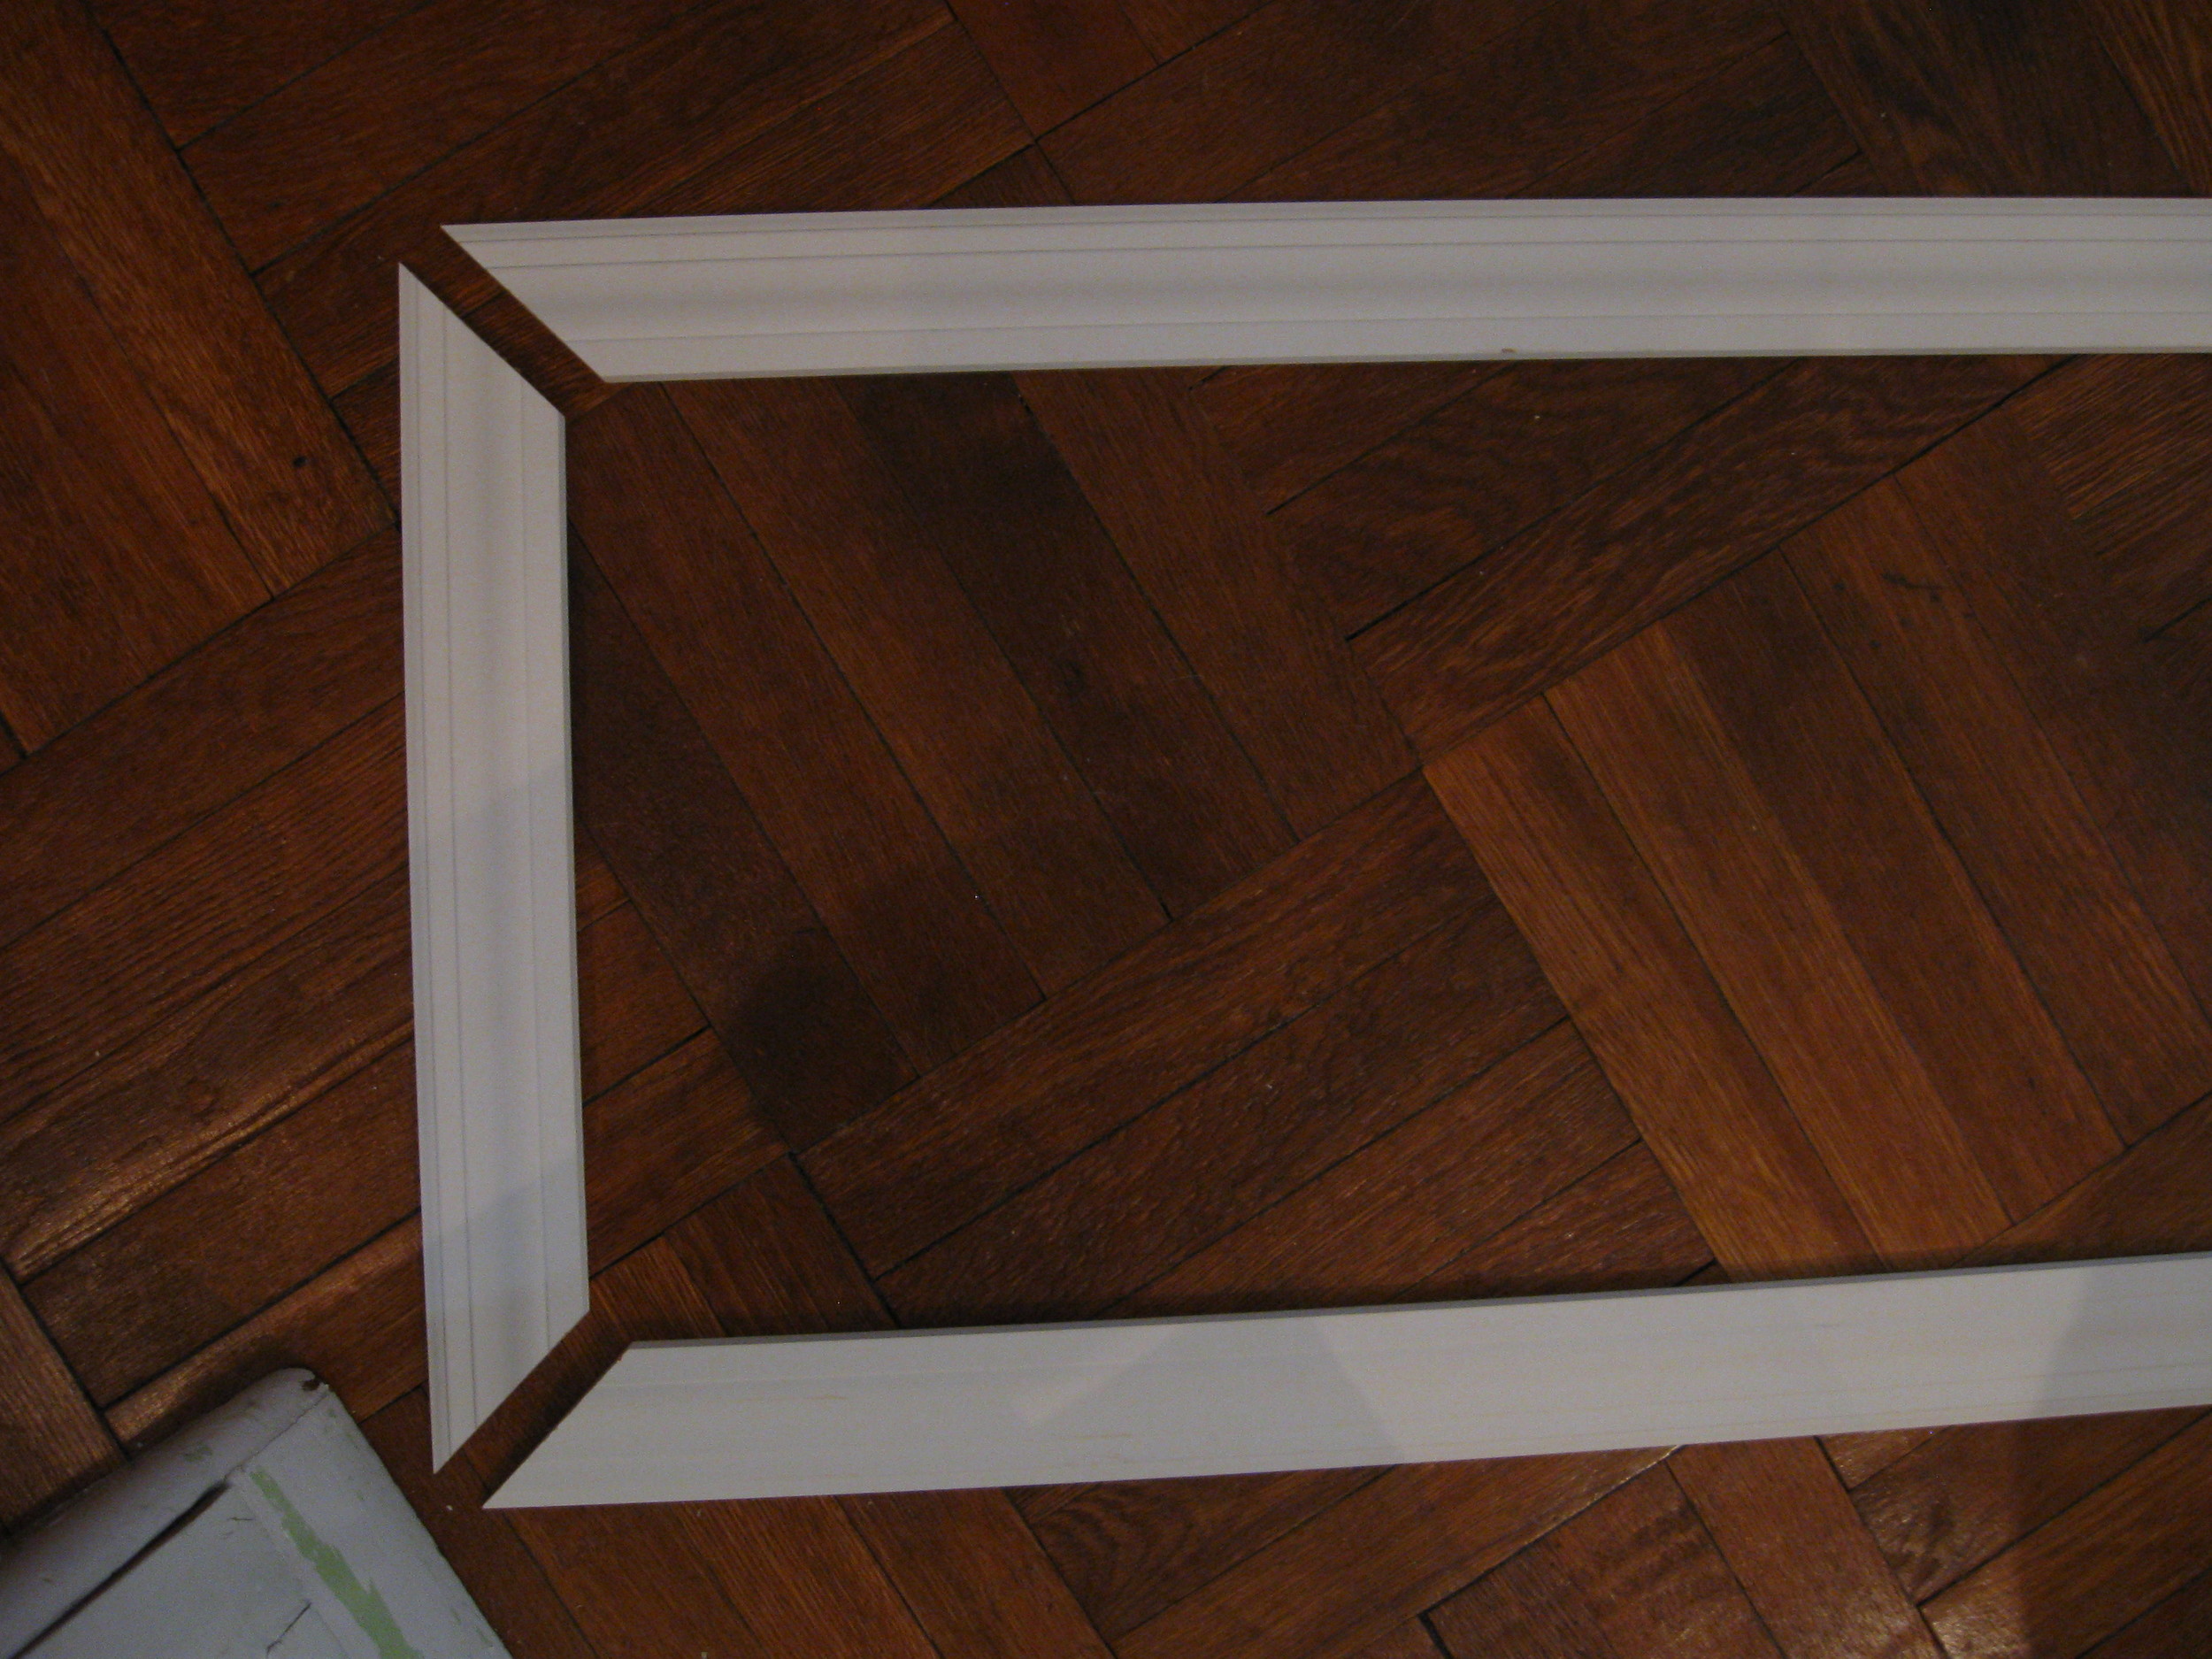 Trimming your bulletin board out isn't necessary, but it will give you a much more polished look. You're basically making a picture frame for your bulletin board, like this:

This requires cutting the trim using a miter saw. If you aren't comfy doing this, see if you can bat your eyelashes or push up your 'girls' or 'boys-- whatever you're rockin'-- and persuade an associate at home center to cut trim for you in the dimensions you need. You can also purchase a miter box and handsaw kit that's really easy to use and less drama than a power tool.
*construction adhesive
*finishing nails,countersink & wood putty
*hammer
*level
*paint and/or fabric & batting, staple gun
Once you've gotten your goodies, it's time to get your construction on.
*Apply small dime-sized blobs of adhesive to the inset area on door. Next place your piece of homosote carefully into the panel and hold firmly for a good 20 to 30 seconds. Kind of run your hands all over that shiot to make sure the adhesive blobs spread out and begin to work their sticky magic.
*Next, line up your pre-cute molding/trim to one side edge, the trim should slightly cover part of the cut edge of bulletin board AND the door. Be sure the length of molding matches up to the length of the seam you'll be covering...test that the top piece of molding fits at a perfect 90-degrees when held in place to the side edge molding piece.
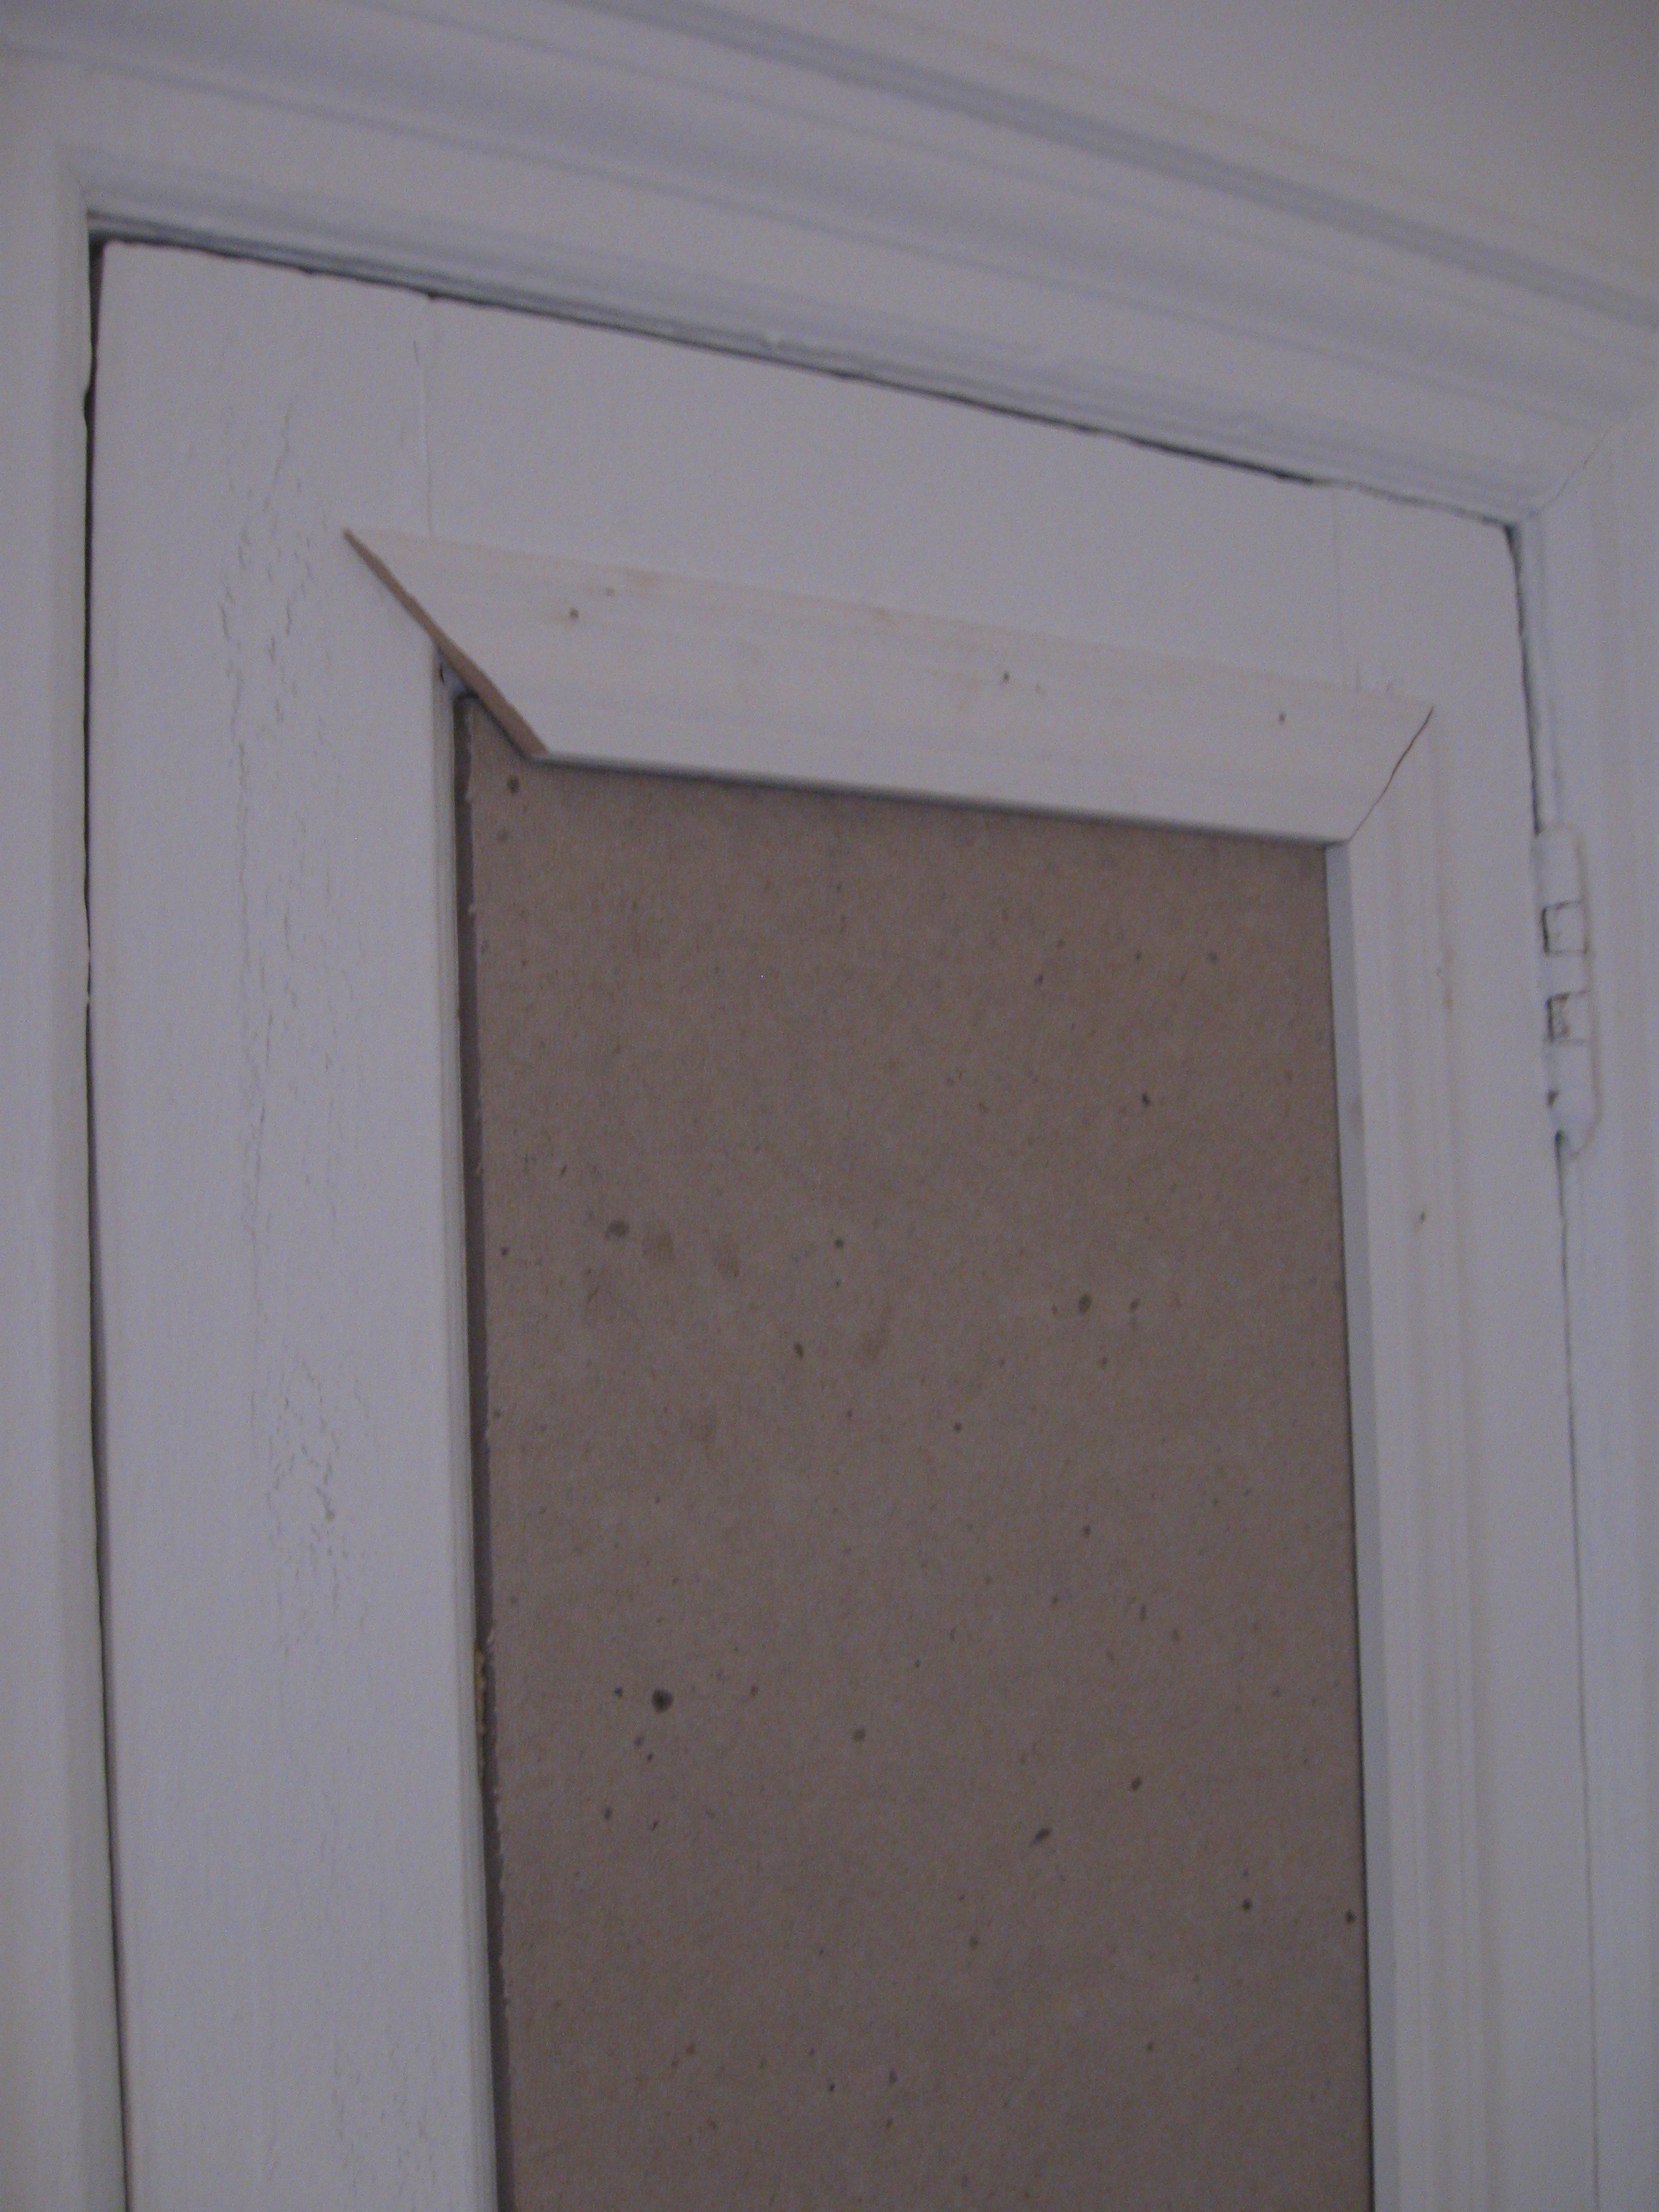
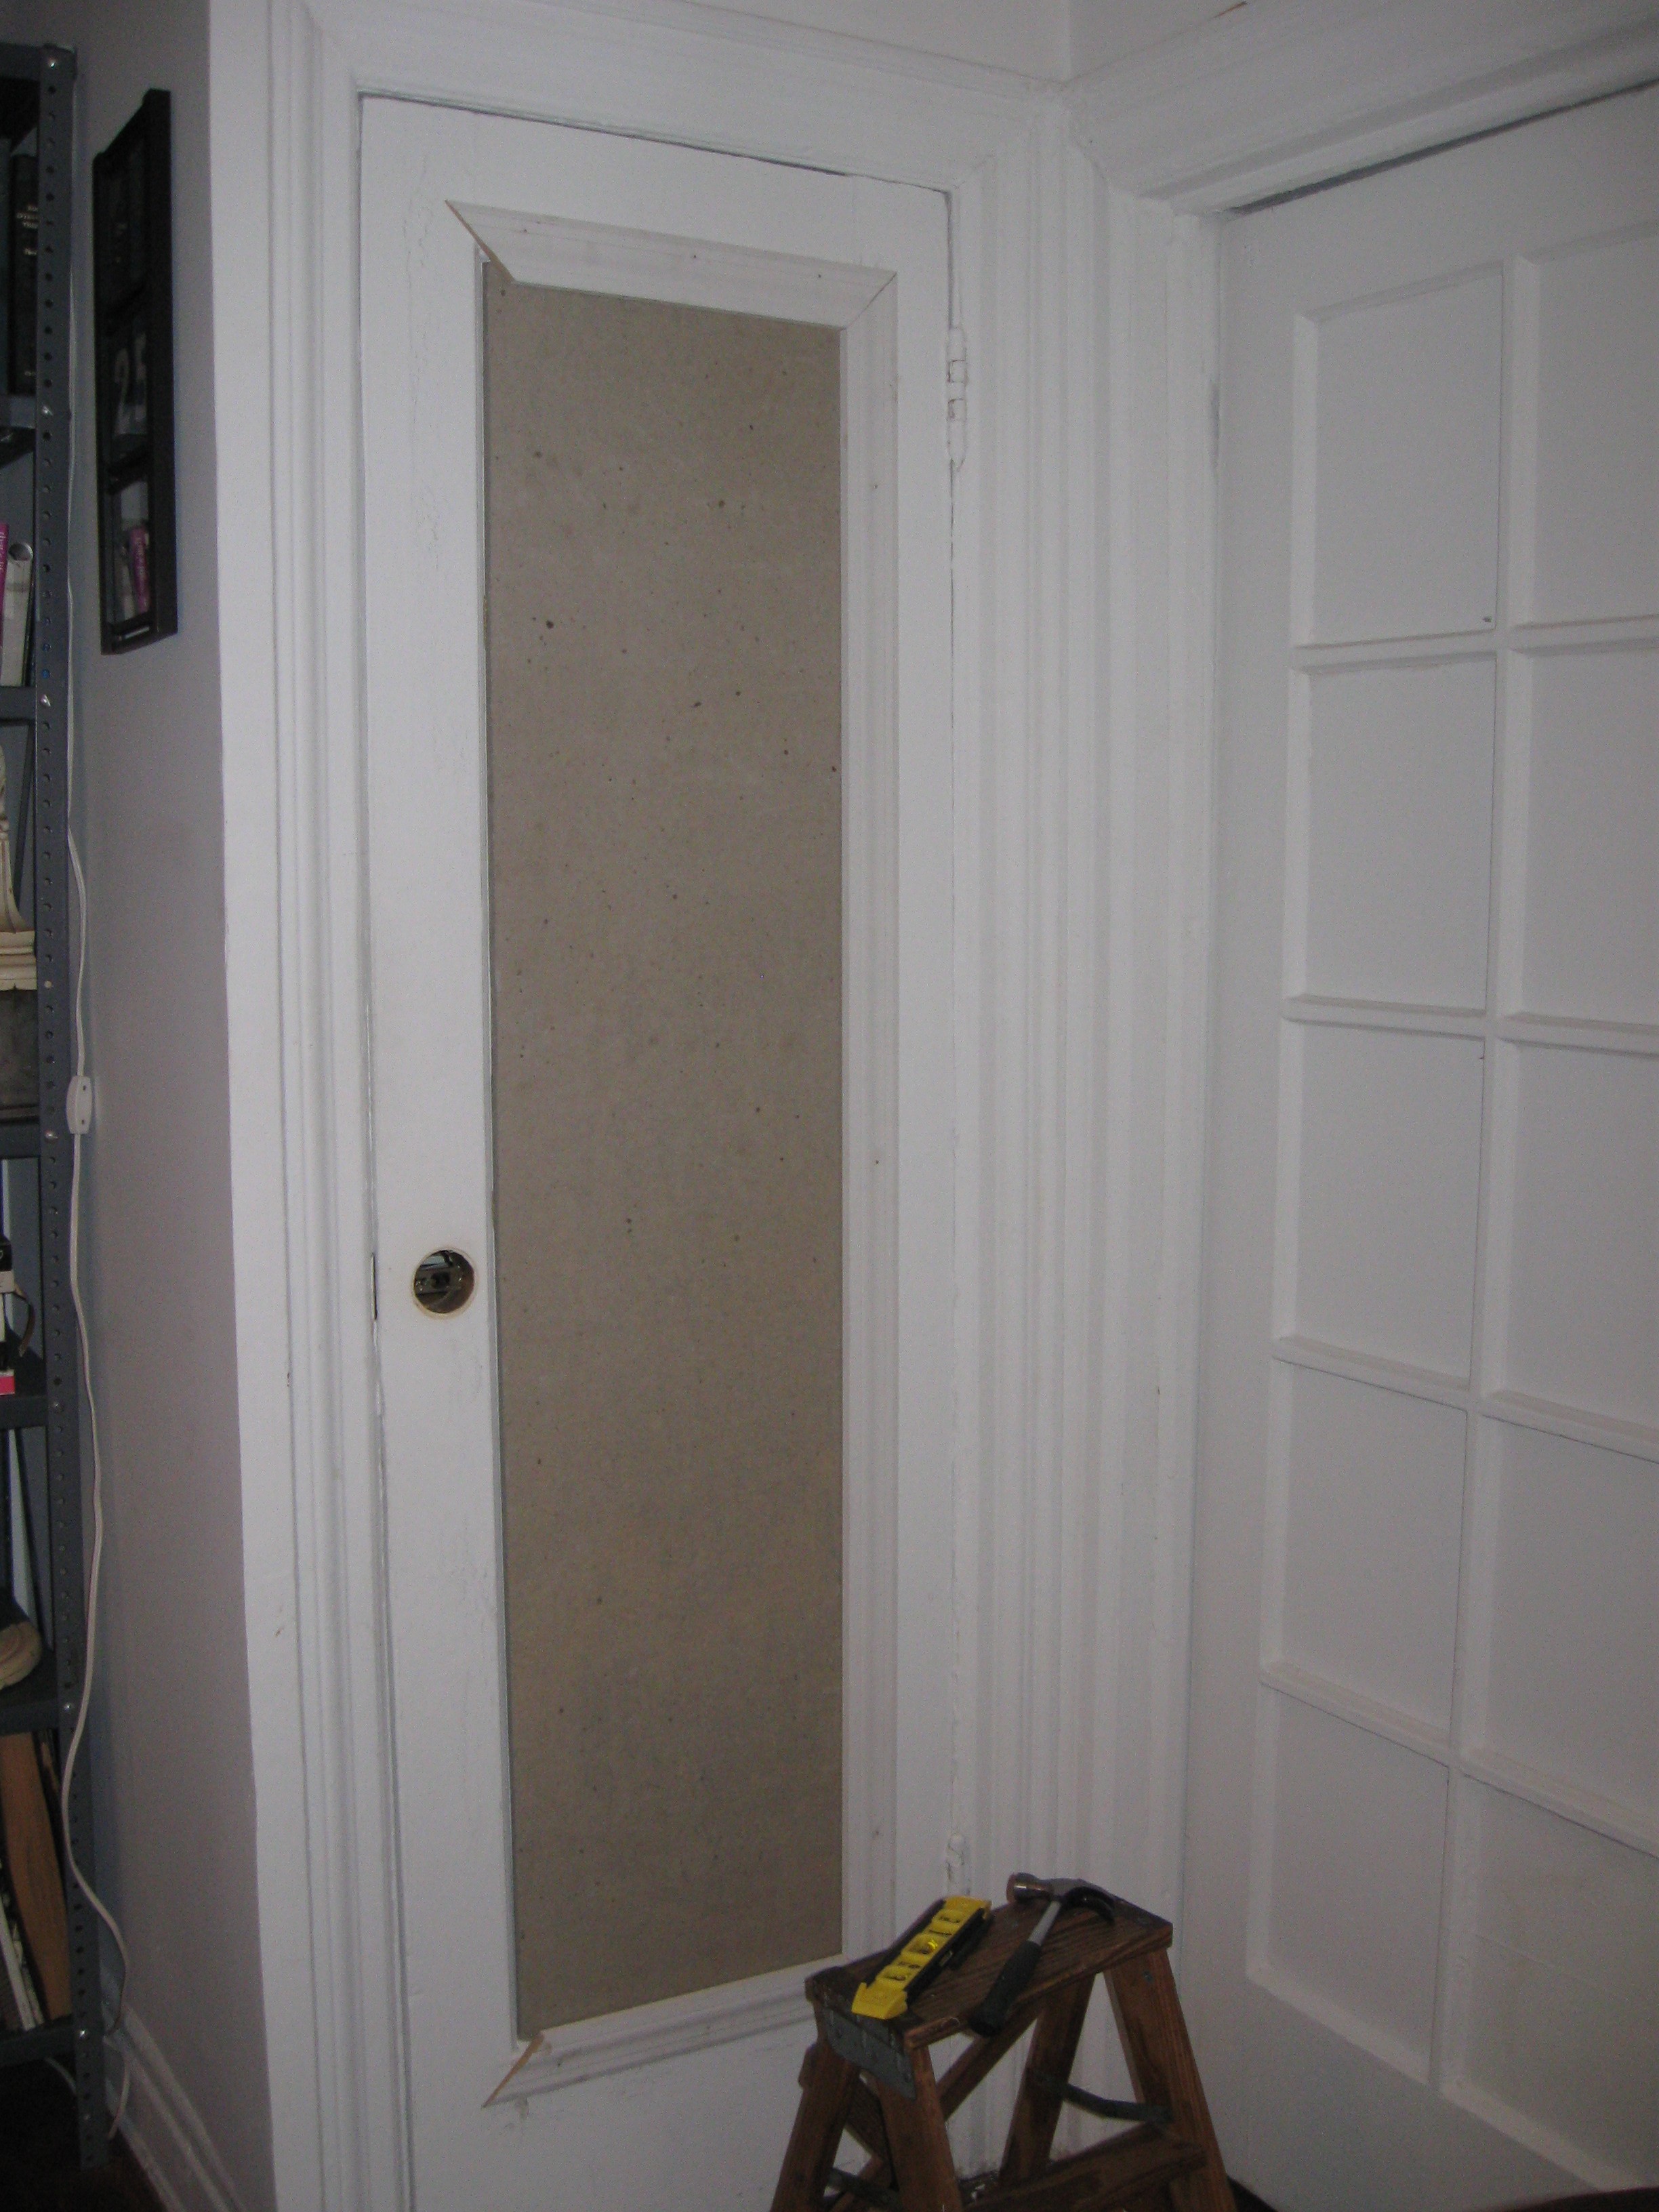 If y'all have a doorknob that you want to cut around, carefully remove the doorknob. Holding your piece of molding in place on the front side, carefully trace the curvature from the backside-- through the existing doorknob hole-- make sense? Cut away curvature from the trim. Now, nail your finishing nails every 12" or so, through the molding into the door. Countersink them. Fill with putty, let dry and sand. Fast tip: y'all can use a drywall spackle in place of wood putty for filling the nailholes-- it dries faster, and it's paintable! Here's what I've got:
 If y'all don't want to paint your bulletin board, you can upholster it...you'd do this BEFORE you install your trim. Wrap your board with batting, then your fabric of choice and staple. Super easy.
Now this is what I call a BULLETIN BOARD!!! (Note: I use t-pins in place of more traditional push pins b/c I like how they look and since they're so long/strong, I can pin up a lot of shiot without them popping back out at me!)
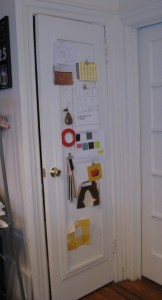 I love how it turned out and the fact that I have this much more space for my pinning pleasure is incredible! Remember, I also did the same project on the backside of my closet door, here's what that looks like:
 I'm not gonna lie to y'all, this project will take a minute, but it's totally worth it! Remember to always measure twice and cut once! Now go get your bulletin board on!!!
