 One of the best dumpster dives I ever had was when I still lived on Status Island, NY (a.k.a. Staten Island)…yes, y’all, I called the oft-forgot borough home for three years! And what a sweet home it was… top floor a an old grain warehouse, at least 3500 sq feet of space... and my bedroom, which doubled as my rehearsal space was complete with ballet bars and a wall of mirrors! Strictly for rehearsals, ahem, of course! Oh shiot! Me and my creative partner, Alane, dubbed the place Chateau Monroe. She's still rockin' it there, click here for a peek at the fabulous pics she's taken of the Chateau!

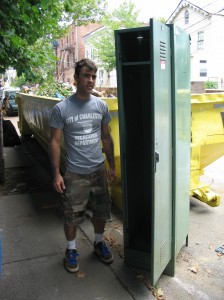
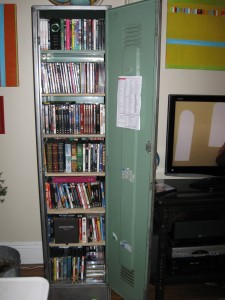
Chateau is directly across the street from an elementary school, which provided more street side bounty than y'all can shake a stick at! One dive unearthed the locker pictured here. In perfect condition, aside from the random sticker & used stick of deodorant, this was a major score! Lockers (or any metal cabinets for that matter) always get me at “hello” for their industrial hotness and versatility as storage workhorses. The repurposing possibilities are endless! So, hello to my new DVD cabinet! This find was also extraordinary b/c almost a year earlier, Alane and I had found an identical locker at the same school! Now I had double locker love, y’all! Who doesn’t adore a twin?!
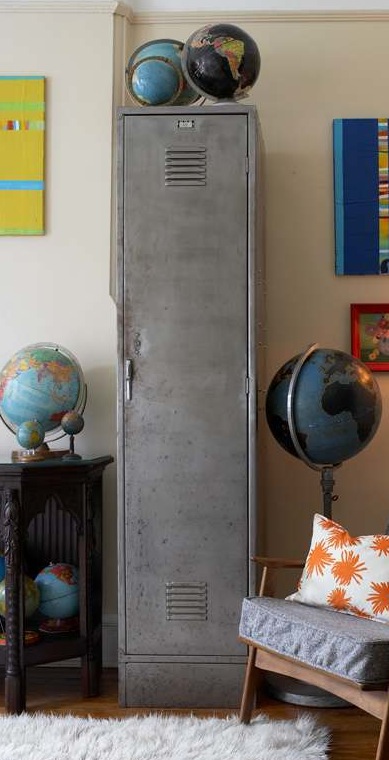
After a thorough scrub out I stripped the green paint using paint remover. Now, this is labor intensive beyond belief, y’all, but I love the look of unfinished steel and I’d already done the same treatment to the matching locker. Follow the included instructions on your paint remover can. You can also make the process as fast as possible with some power tool help. I used an electric sander and a sander drill attachment. Note: when using any kind of sand paper, you’ll get scratch marks in the steel or whatever metal you’re uncovering. But, to keep the marks at a minimum, remember that the finer the grade of sandpaper, the smaller the marks. Also, stripping the paint in the same direction and with the same amount of pressure to the power tool will keep the marks consistent and much less noticeable. If y’all are totally OCD and just can’t stand marks, then there’s always scraping the whole piece with a hand scraper. But y’all will definitely need to have some alcohol on hand for that process! Stripping paint is no joke, so to save the remainder of my sanity, I just kept the institutional green finish on the inside of the locker. No one cares what's going on inside when the outside looks so damn good, as witnessed in the glam opening shot!

Once stripped, I sealed the locker with Butcher’s Bowling Alley Wax. This amazing product seals the piece to prevent oxidization, or rust. It also leaves a really nice matte finish. If you don’t want to use wax, you can also use a polyurethane, but y’all can’t skip this step or you’ll RUSTgret it! Get it?! Oh genius!
Finally, I measured and prepped the locker for wood shelving, (which I had cut at Lowe’s). This involved drilling what seemed to be about 500 holes into both sides of the locker. These holes would accommodate the L brackets that would support my wood shelves. Make sure y’all measure twice on this part, b/c once you’ve drilled into metal, you can’t really patch it! Five shelves later, I’ve got industrial storage chic-ness that houses a massive movie collection, with growing room too!
Y'all, won't you fulfill my destiny by sharing some of your repurposed furniture goodness with me? Send an email to blog@pjmehaffey.com and I'll share in a future post. Take us there!
