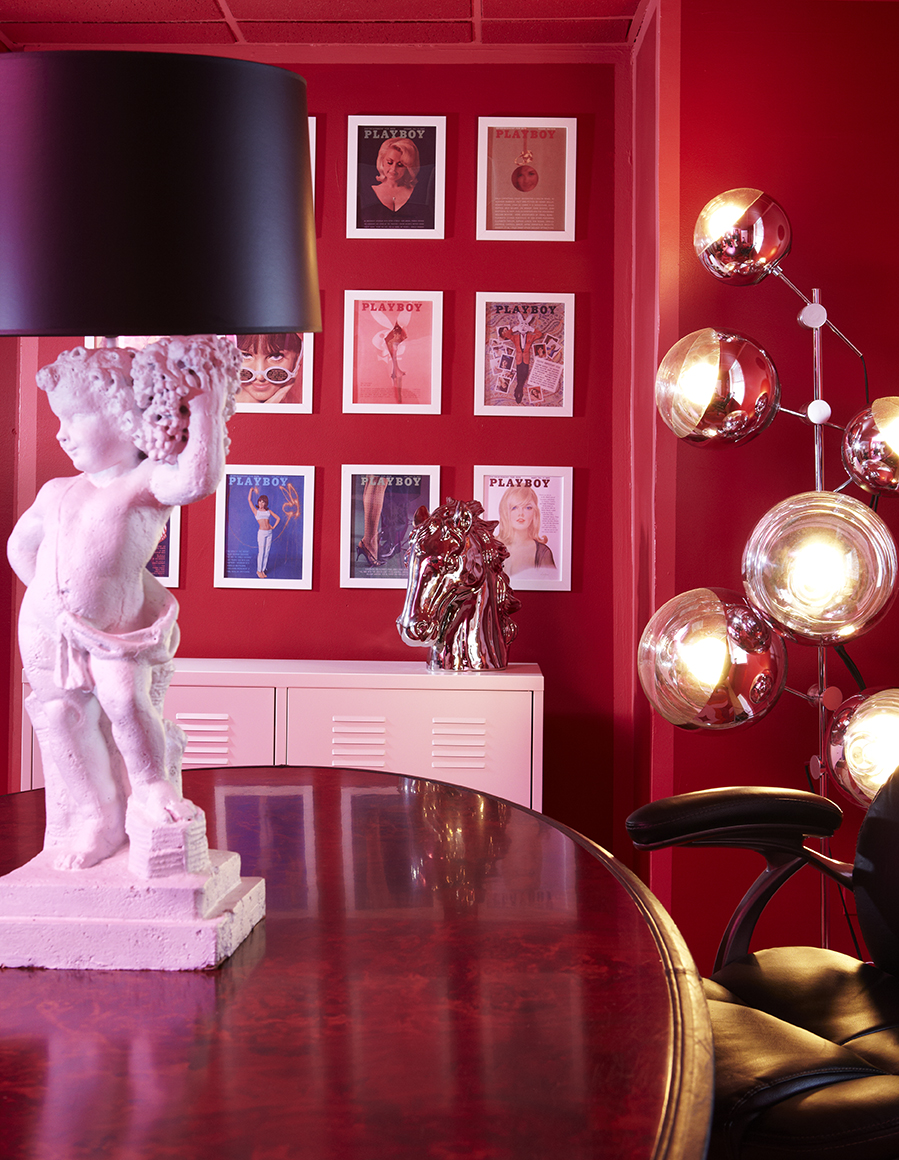
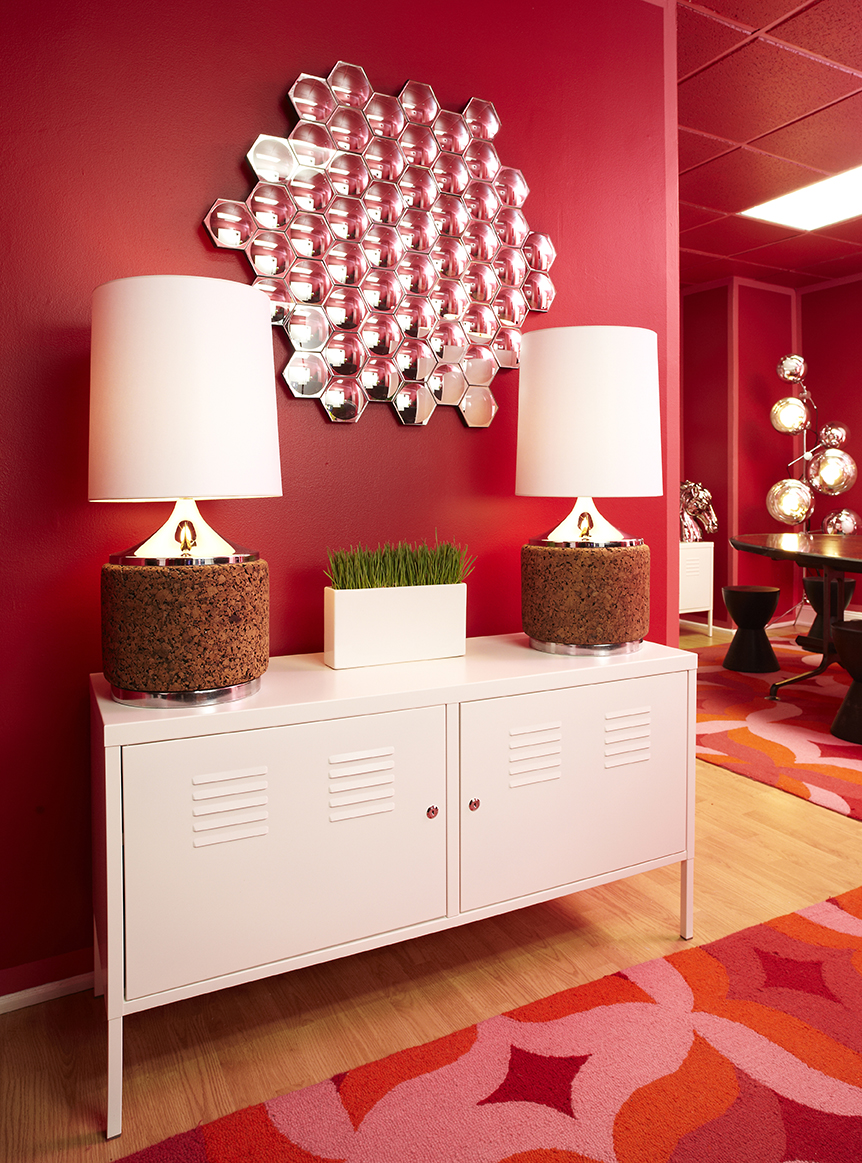
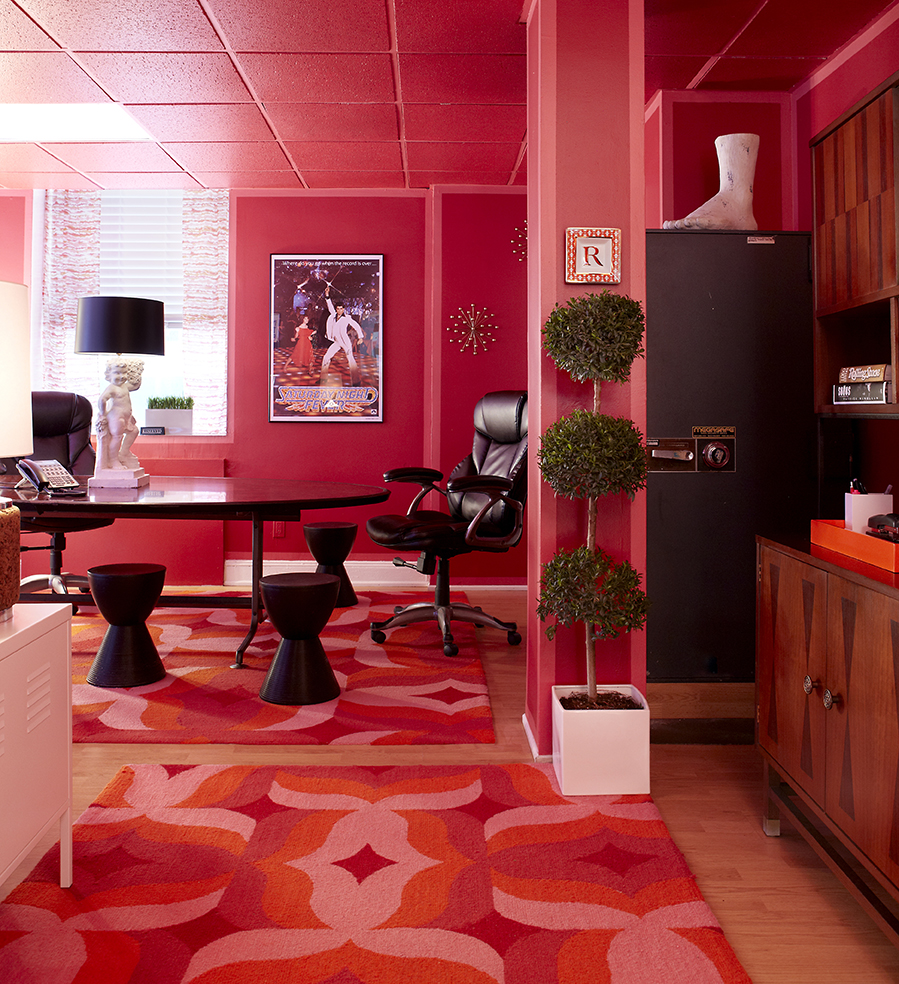
So how DO you get your walls and ceilings to look like this?
It's actually quite simple, y'all. Here's what you'll need to make your color block dreams come true:
-painters tape in whatever width you want (I used 2")
-paint in two different colors (I opted for two tones that came right out of the area rug) in whatever finish you prefer
-rollers, brushes, foam brushes or whatever combo of tools you prefer to paint with
And that's IT! YES!!!
Start by painting all the edges of each wall in one of your colors. Mine was the lighter raspberry/pink. Paint in deeper than the width of your painters tape. Mine was 2", so I painted in at least 3"-4" around all of my wall edges. Like this:
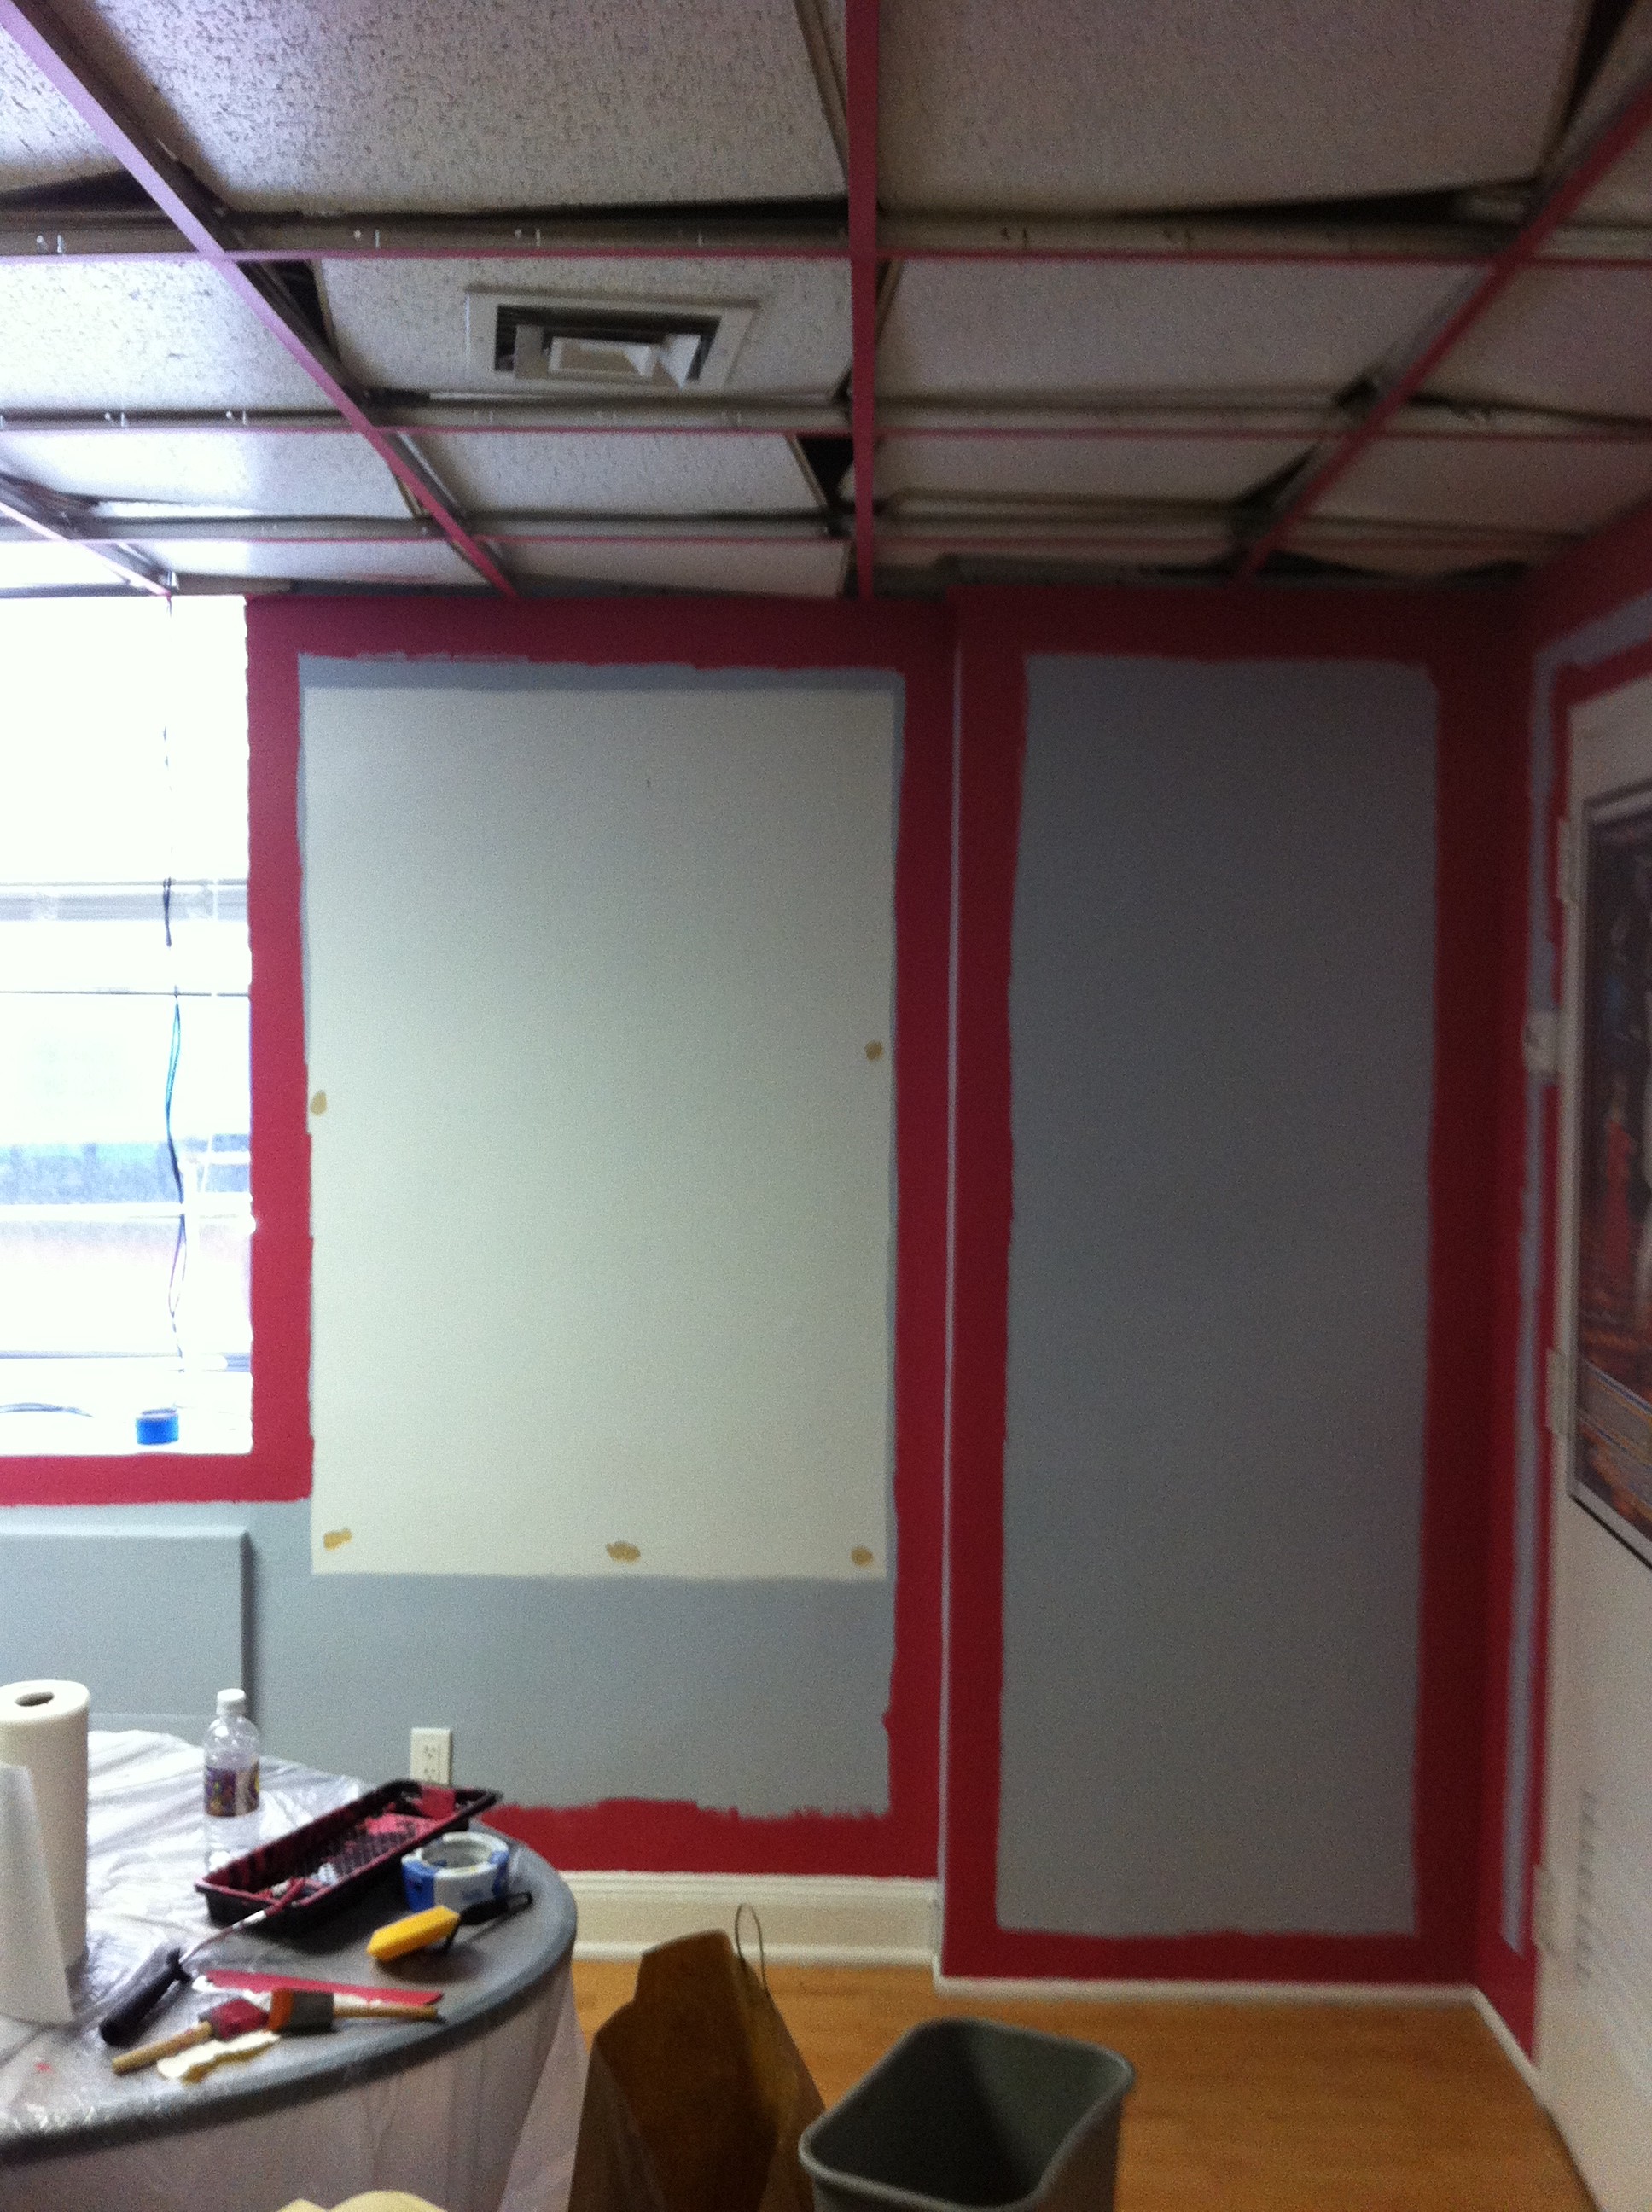


And since we were working on the wall edges already in the lighter tone, we went ahead and tackled the aluminum supports on the drop ceiling:

For the first coat, we chose to carefully lift each ceiling tile and turned it clockwise, resting it atop the backsides of the supports. Or maybe it was counter-clockwise? Whateve's, y'all just want to clear the front sides of supports of all tiles, so get them up and out of the way. And actually, after this first coat on the supports-- and we were moving on to painting in our other color-- we discovered it was almost impossible to get enough paint onto a ceiling tile approaching it from below, so we just went ahead and removed the tiles from the ceiling altogether to paint them. That was a big undertaking, but painting the tiles goes so much faster when you can lay them out. But more on that later.
So, once these coats have dried, start taping all the edges of your walls. You want to tape from the absolute furthest edge of your wall and follow that edge all the way from top to bottom, left to right. You're creating a box, or frame, around the edges of each of your walls with the paint tape. So, walls that are right next to one another will have corners that are basically taped out where they meet...make sense? Sounds odd, but trust it turns out fabulous! As you tape, be sure to push out any air bubbles and run your fingers along all the sides of tape in order to be sure it's 'locked' in place. Then paint the wall in your other color. In my case, it was the darker raspberry. Like this:
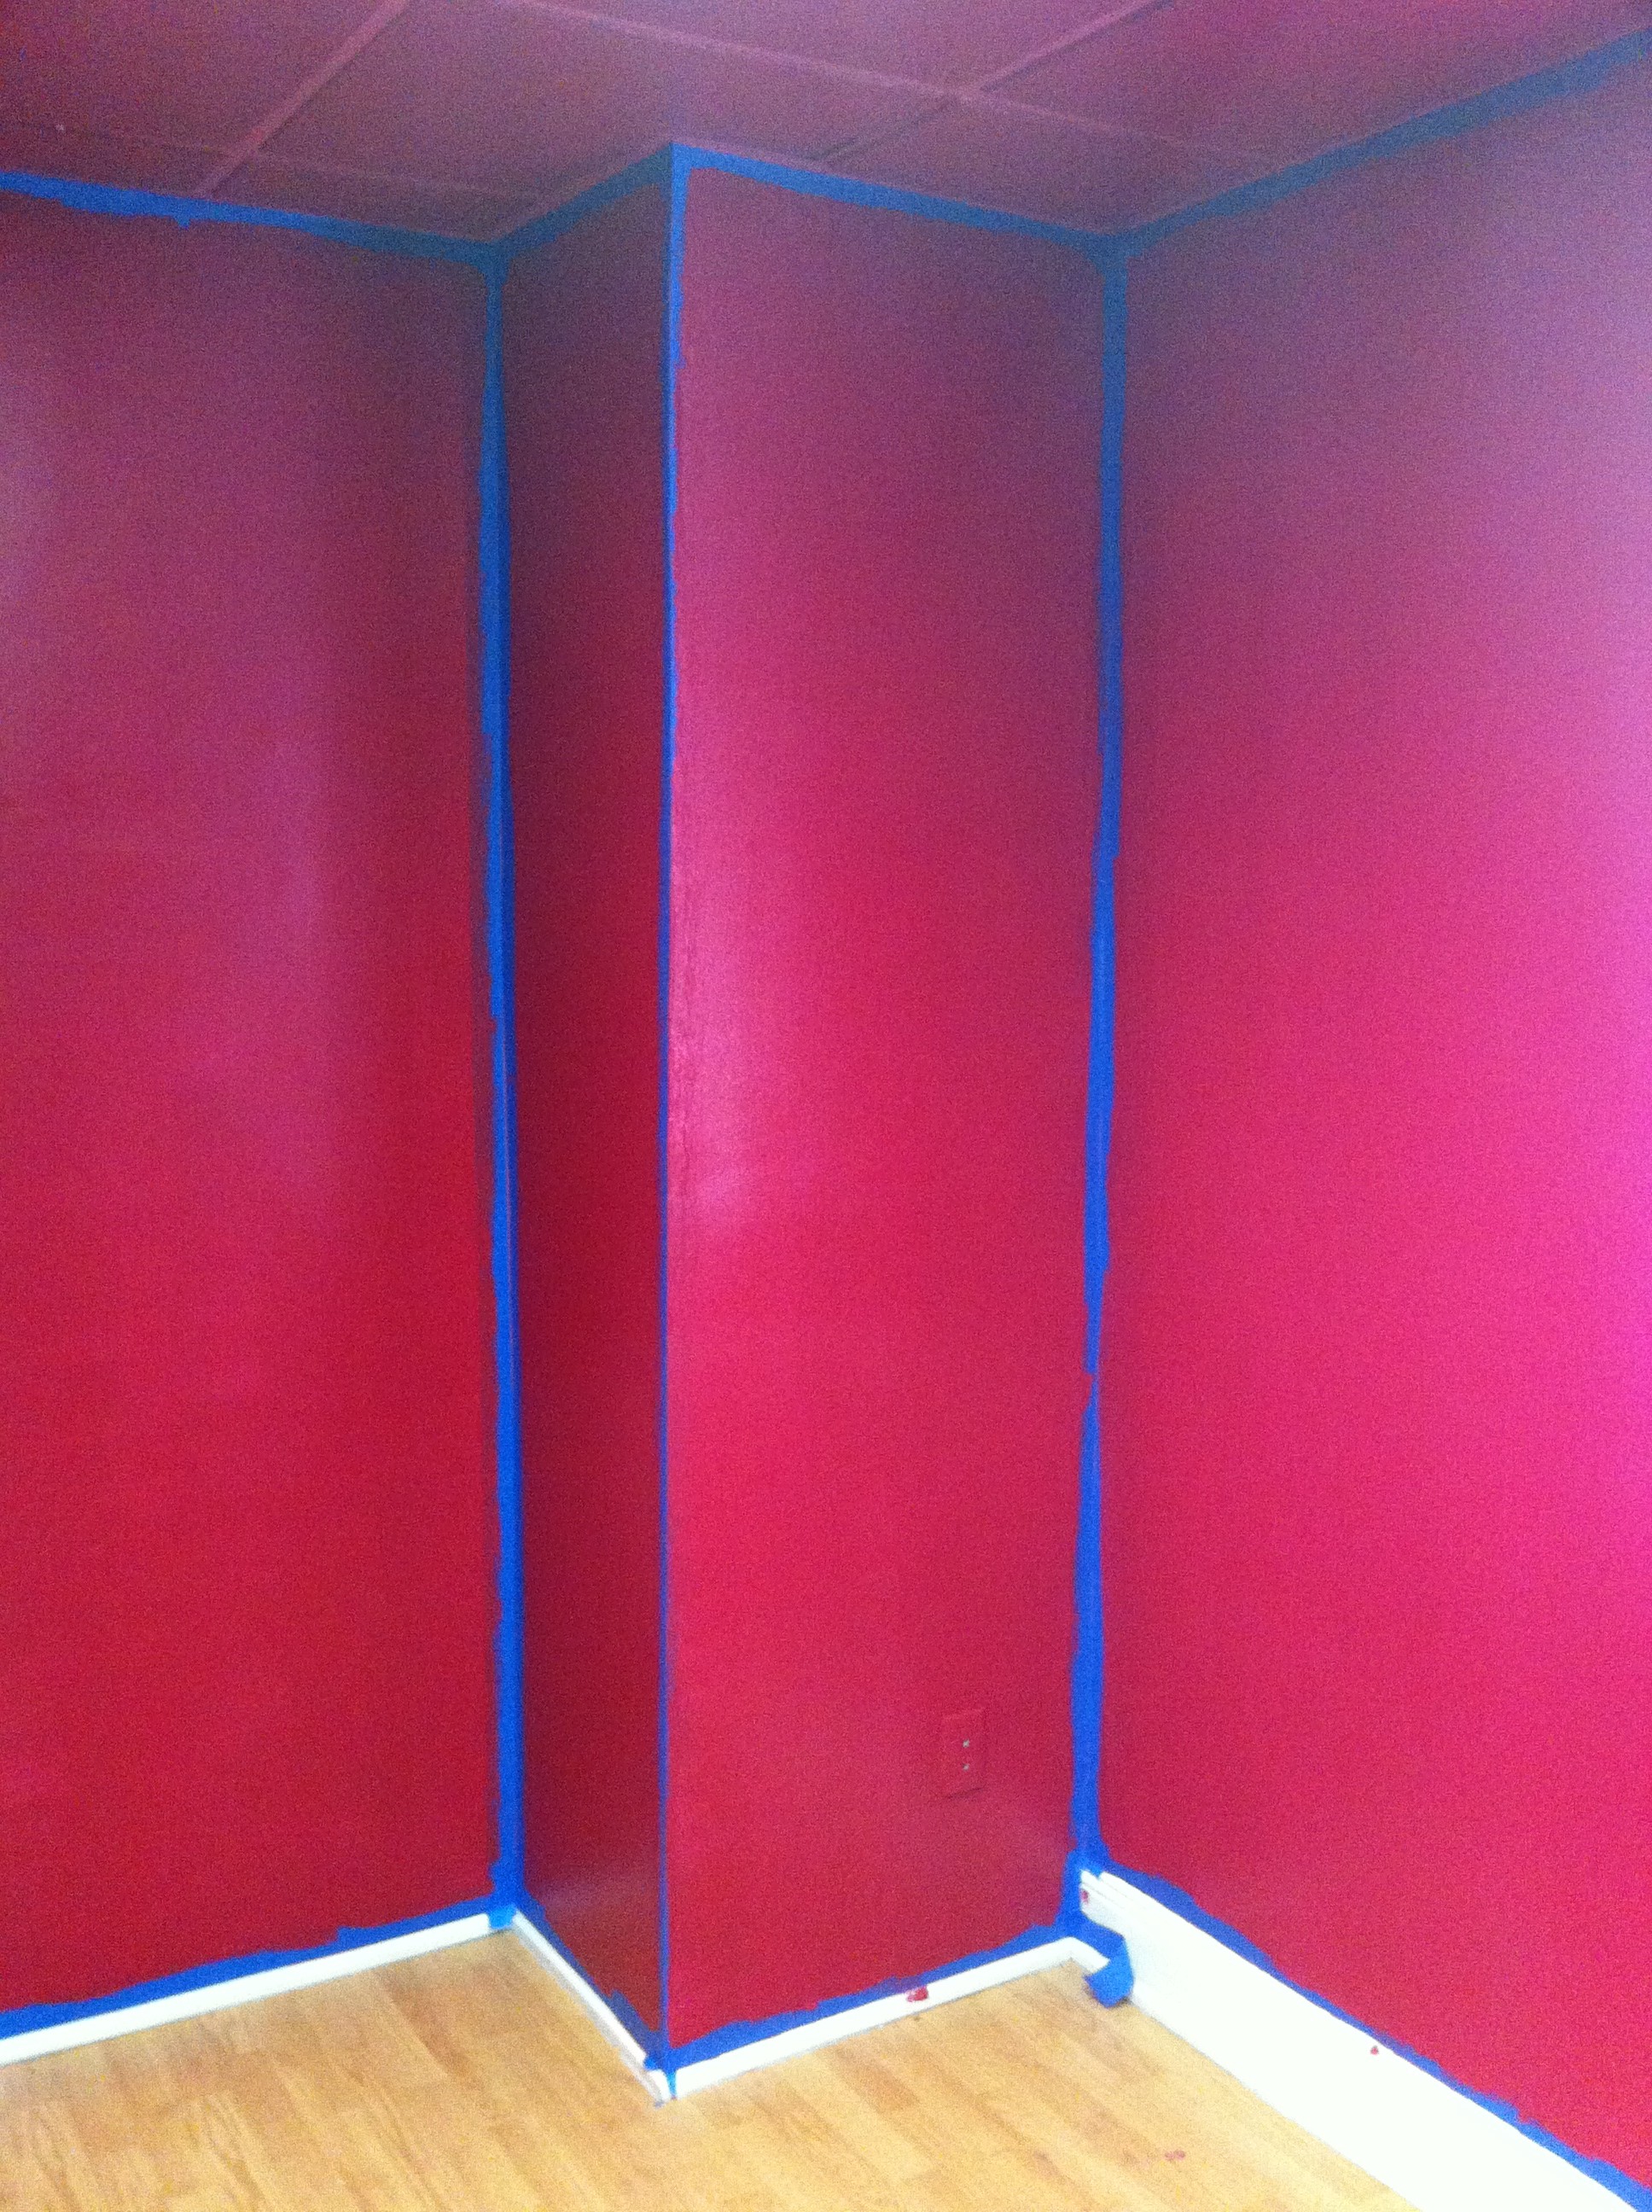
Be sure to tape around any significant architectural features, like doors and windows...

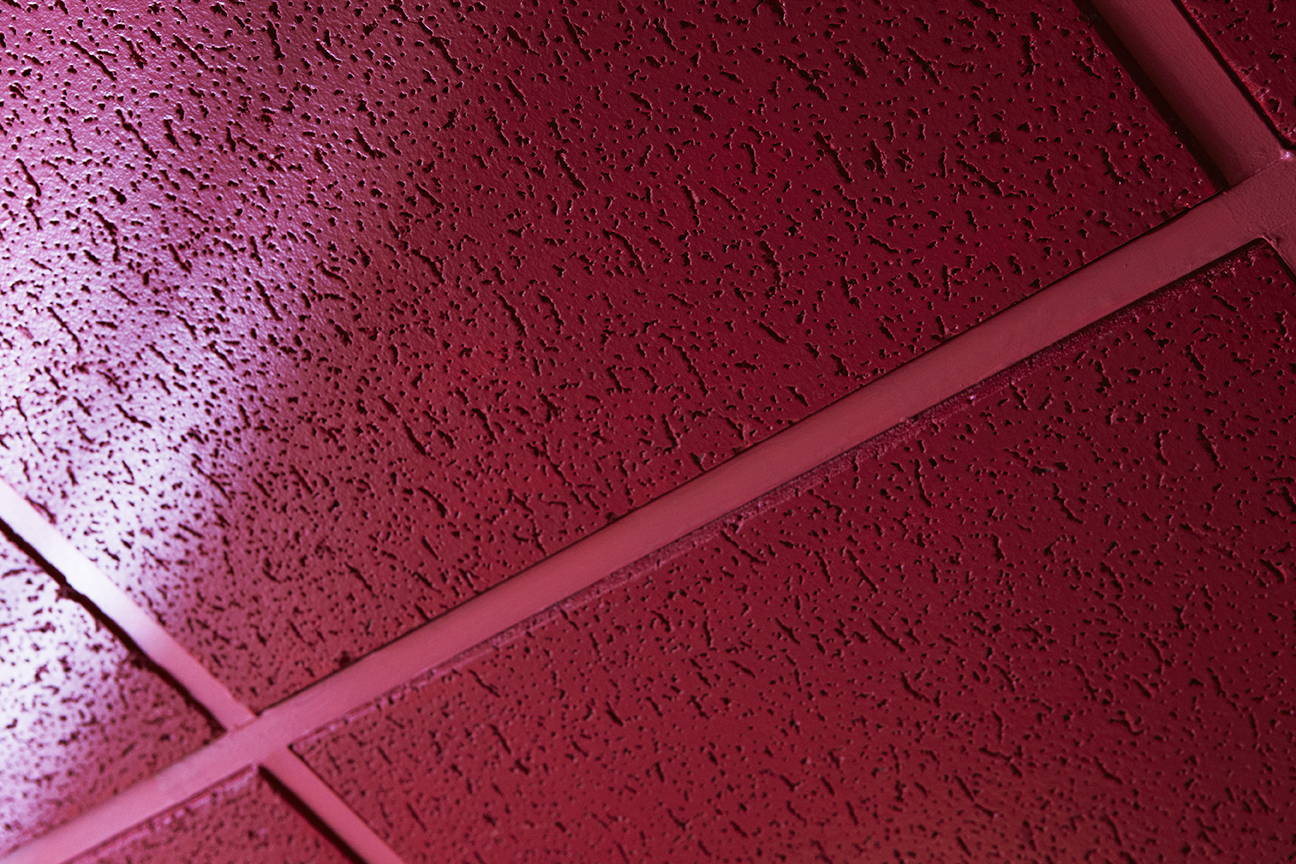
Y'all will also notice that lots of the ceiling tiles are already painted here. We did remove most of the tiles from the ceiling and laid them out in order to be able to roll them with paint. It's not impossible to paint them in place, but ceiling tiles are almost like giant sponges in that they're pitted and super-duper absorbent. Lovely! It actually takes a lot of pressure to get the paint inside all the holes AND get an even coat. Witness:
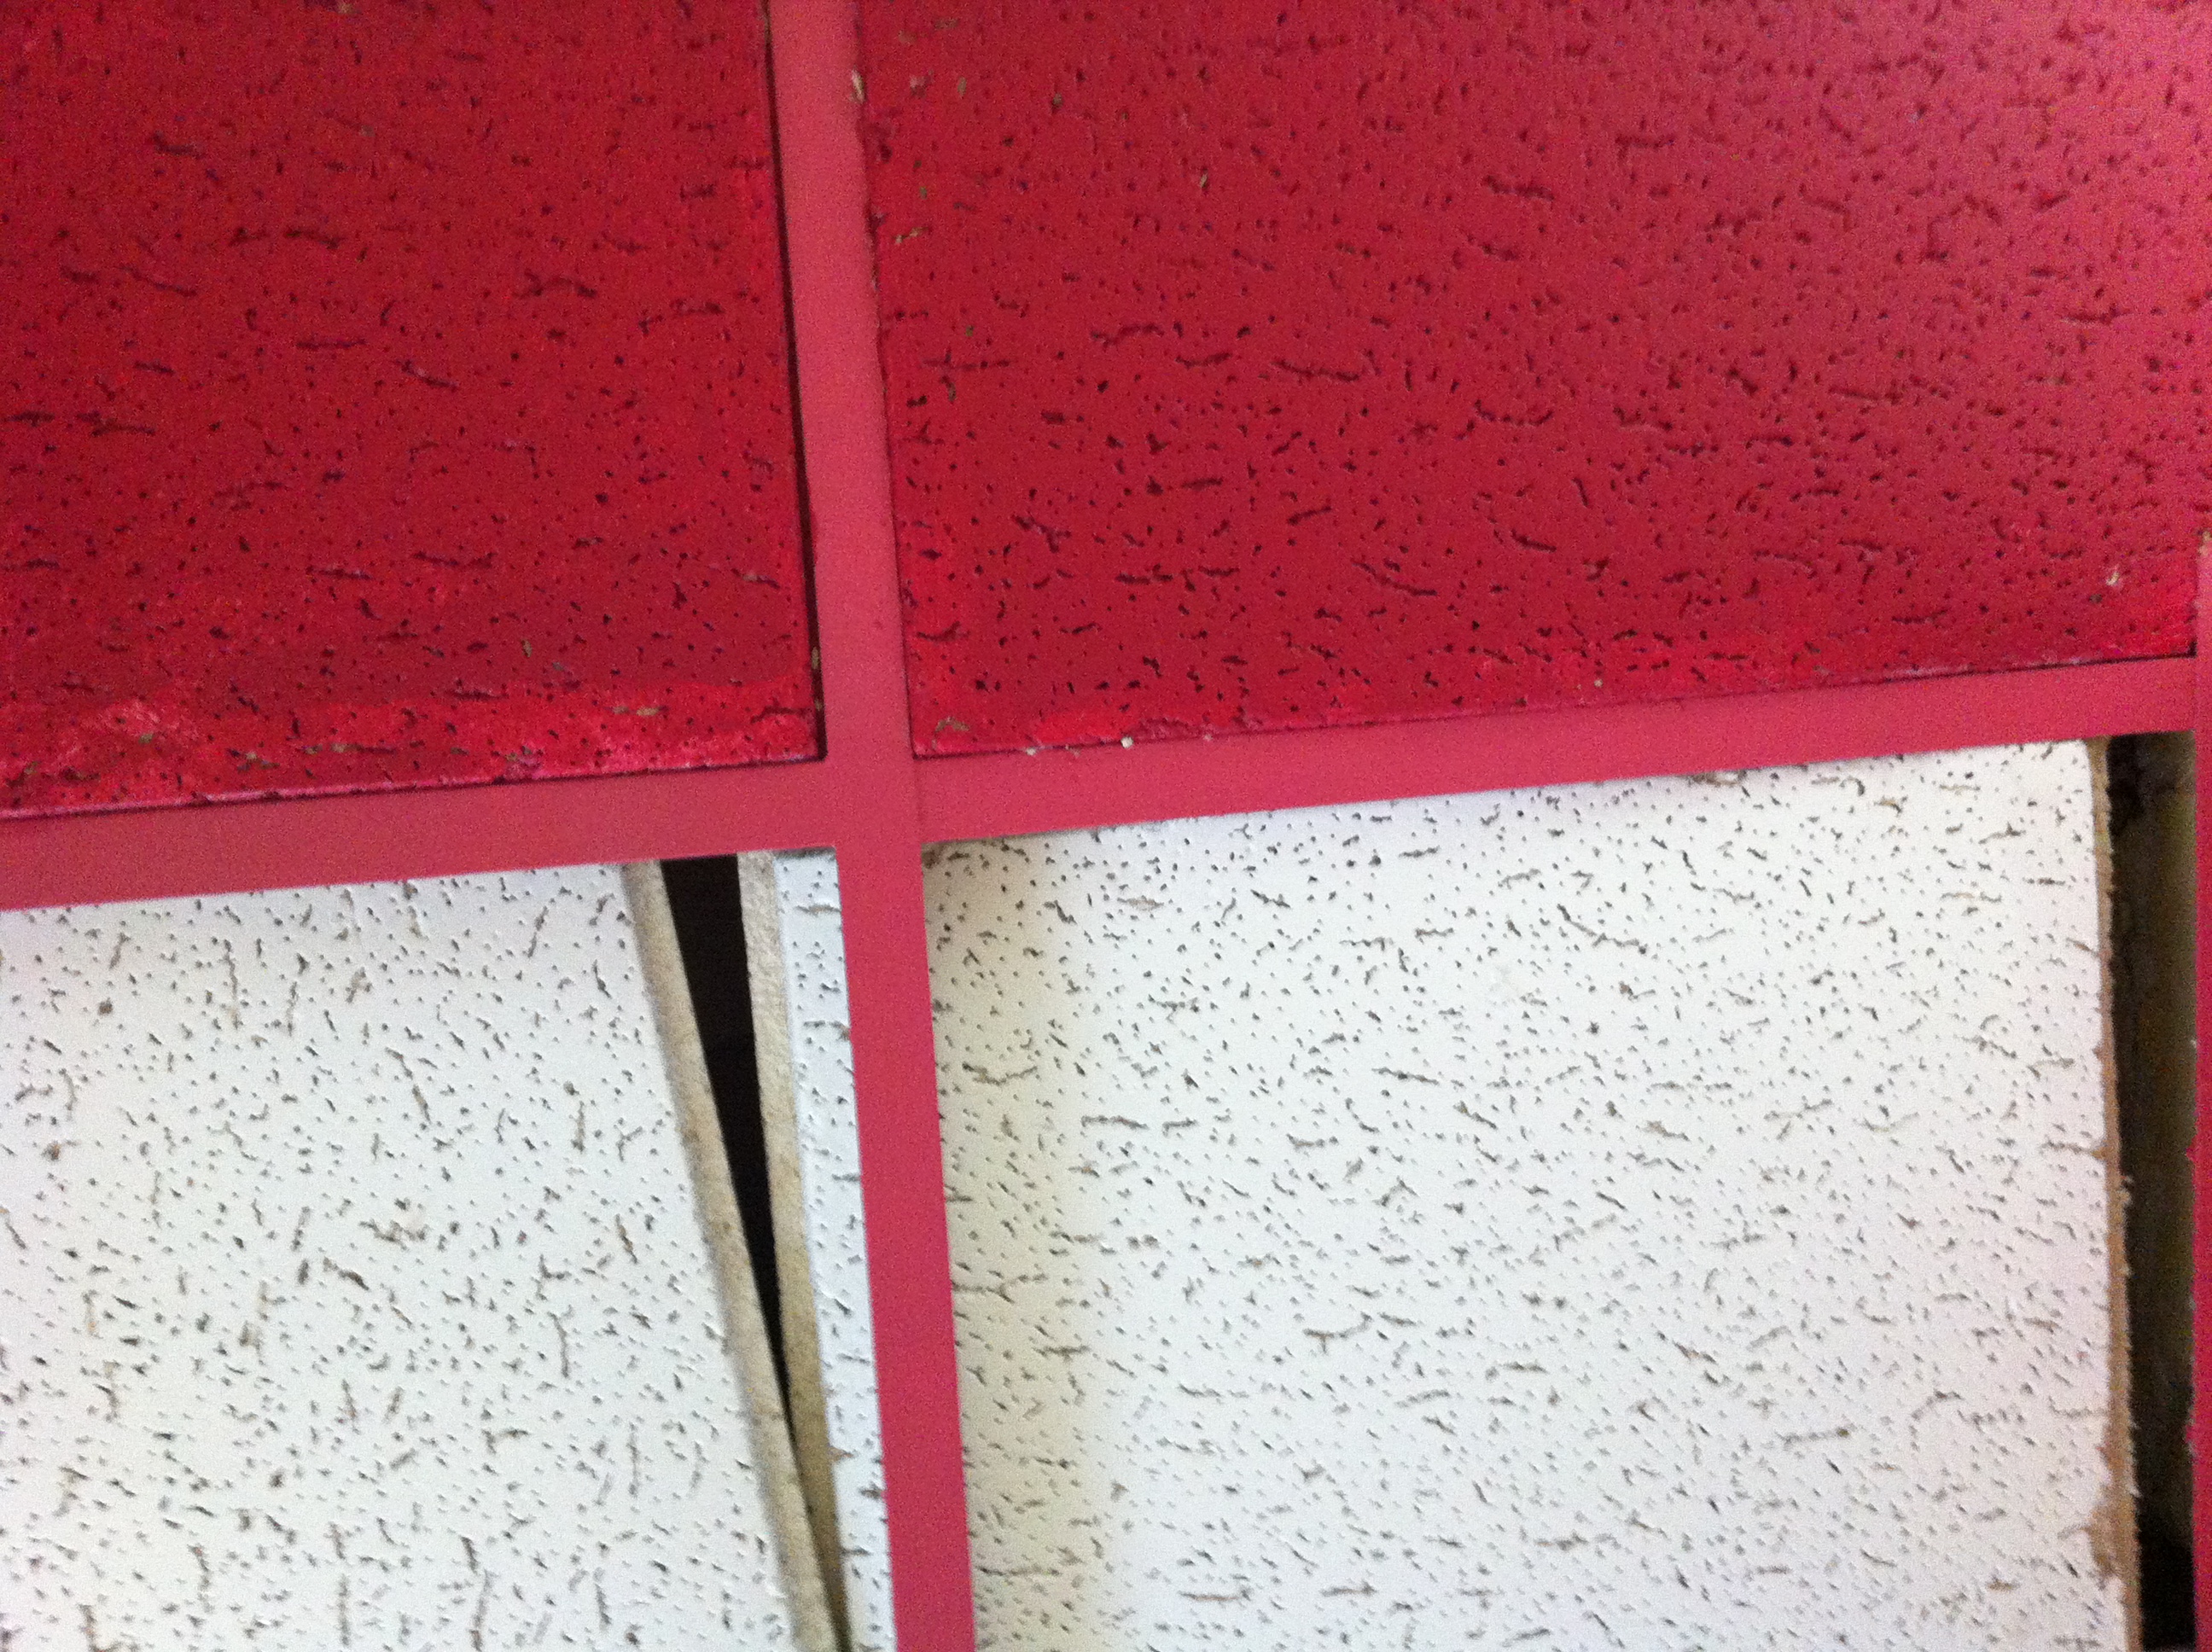
Also, some of your tiles won't be able to come out easily b/c they've got sprinklers, or vents, custom cut through them, so trust that you're gonna get your chance to put your back into it and paint some tiles in place...

But, applying all that pressure from upside down, wasn't working for me, so we laid them all out to paint (apologies for the insanely DARK images below, remember, all this painting was happening inside a nightclub, where the office is...I LOVE my job!):


We ended doing about two-three coats on our walls and probably four-five coats on the ceiling tiles. Then I went back in on a ladder, once we re-installed tiles, to do detail work and any missed spots.
Once everything is dried thoroughly, carefully remove all your tape. A great trick is to pull tape slowly at a 90 degree angle as you remove it, this way if any paint seeped through, etc., the angled direction will usually keep your line rather than pulling paint up. Here's a great shot of where tape is being removed from two walls that meet and both of them have the 2" lighter toned border:
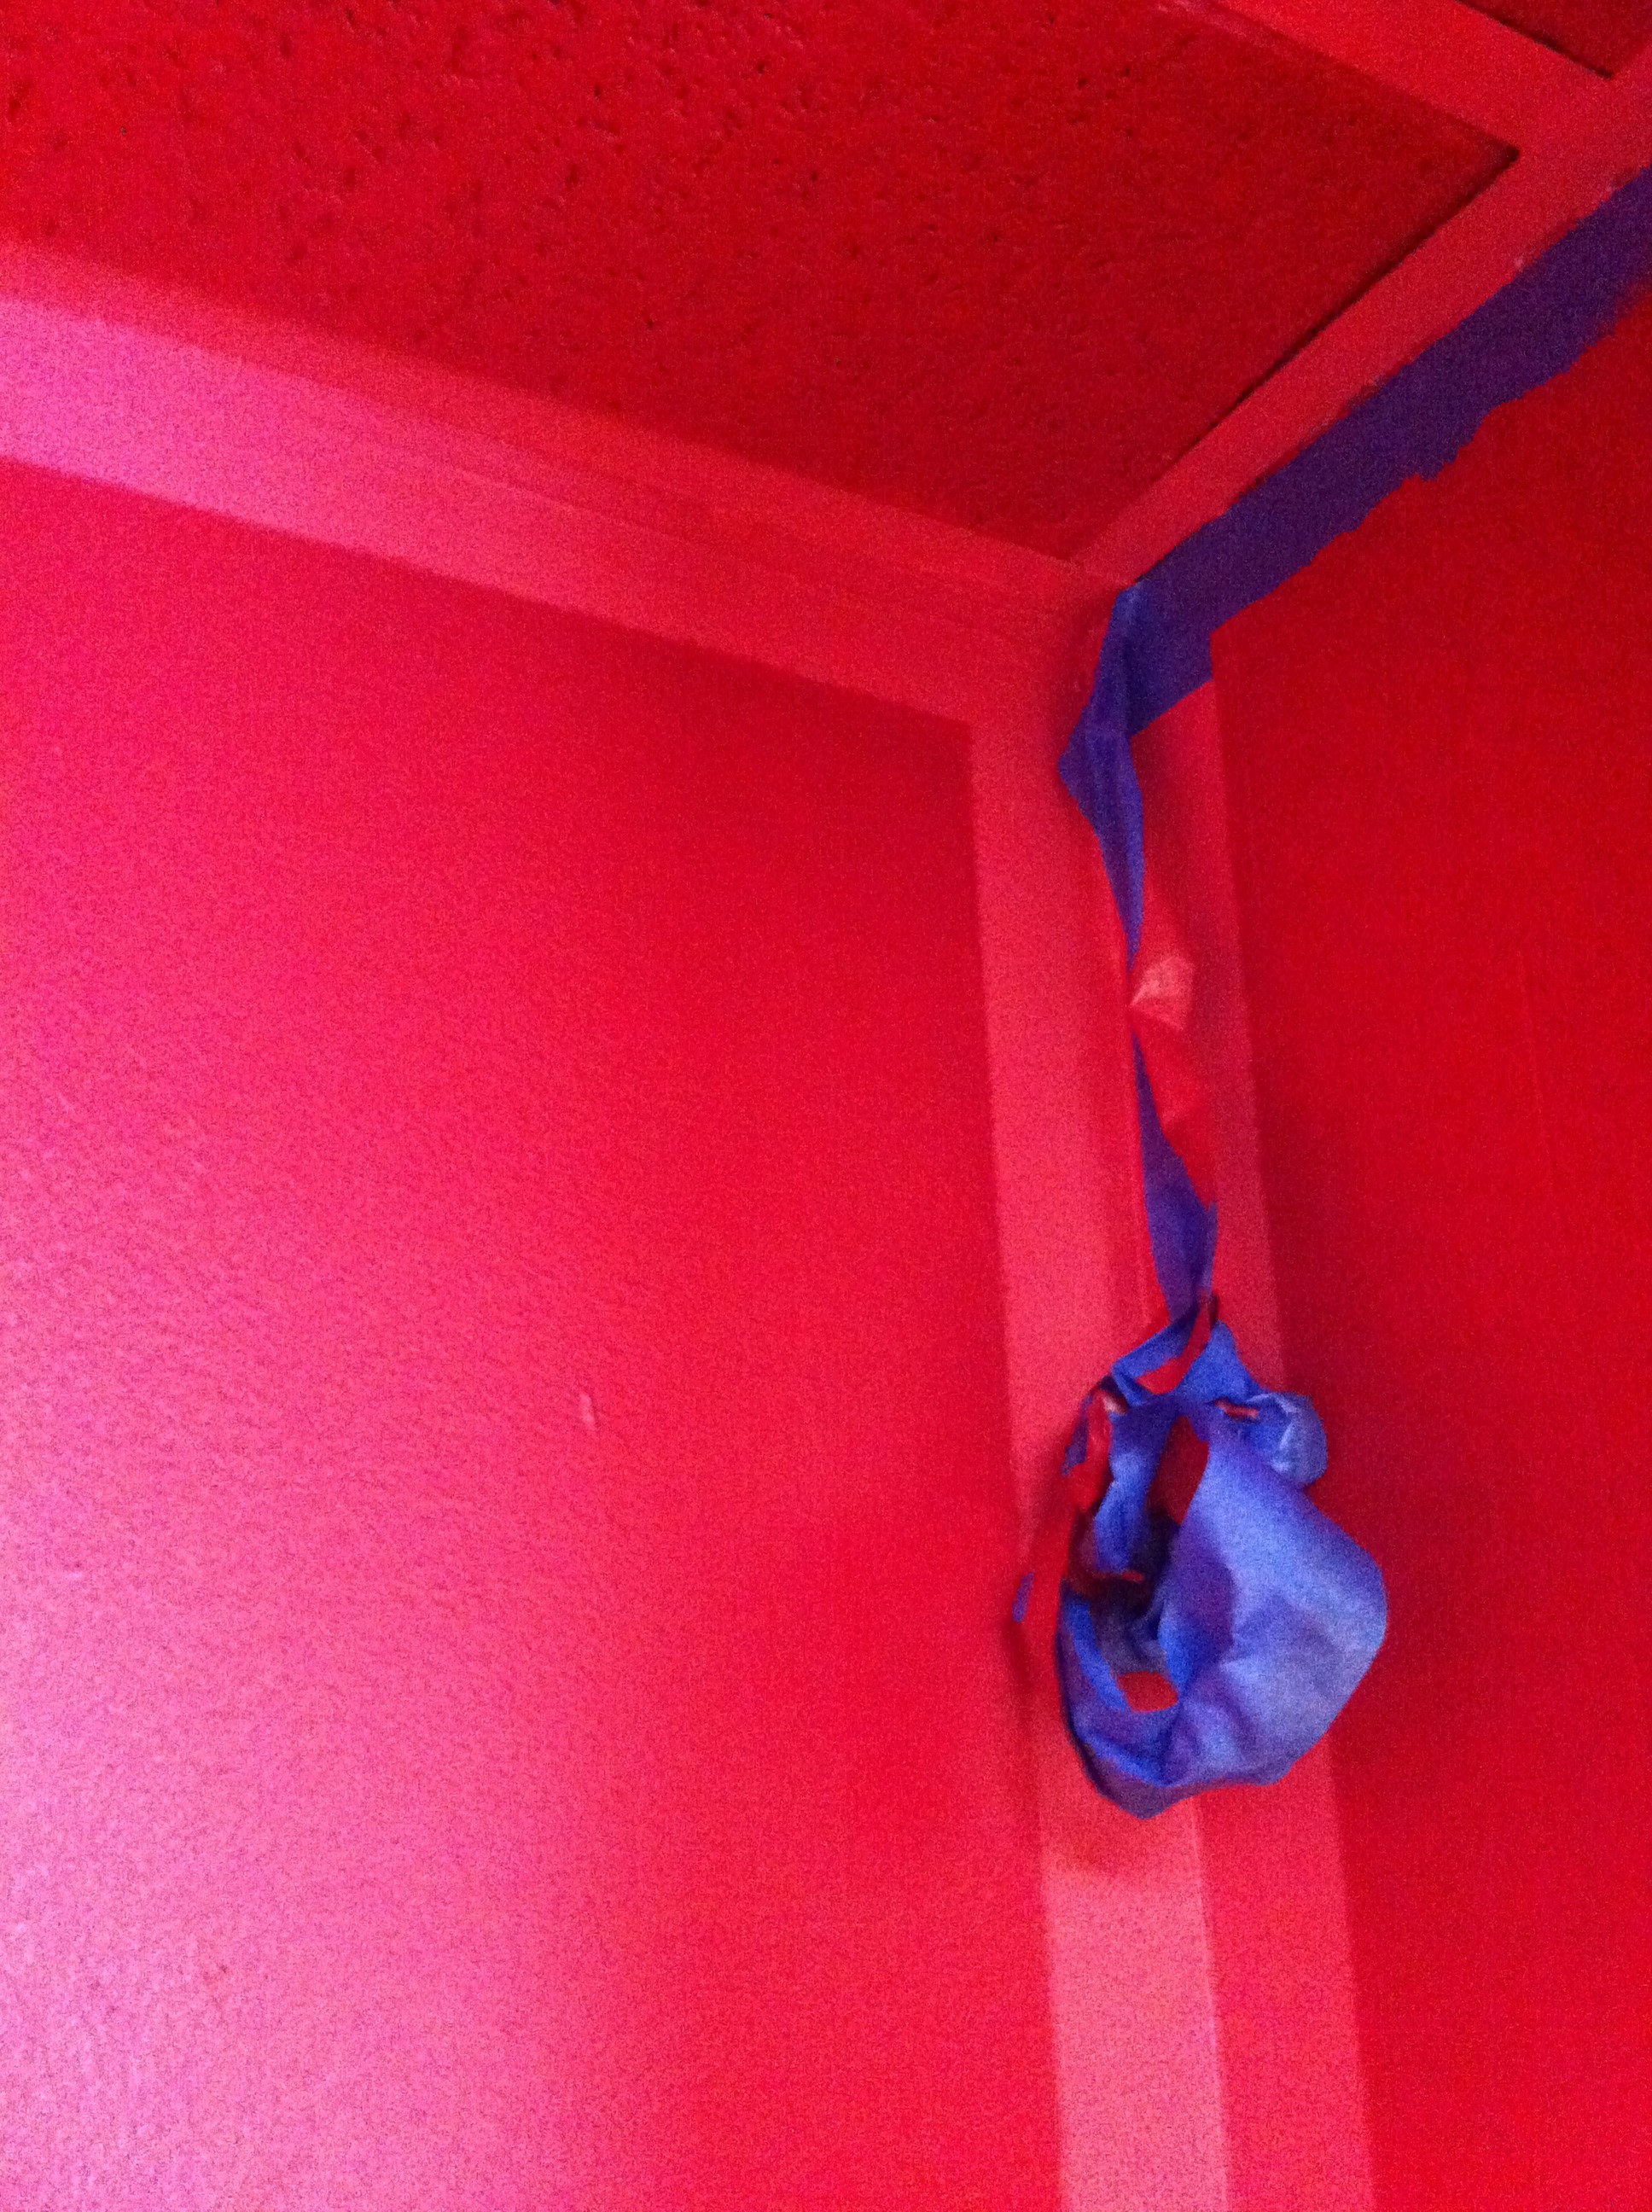
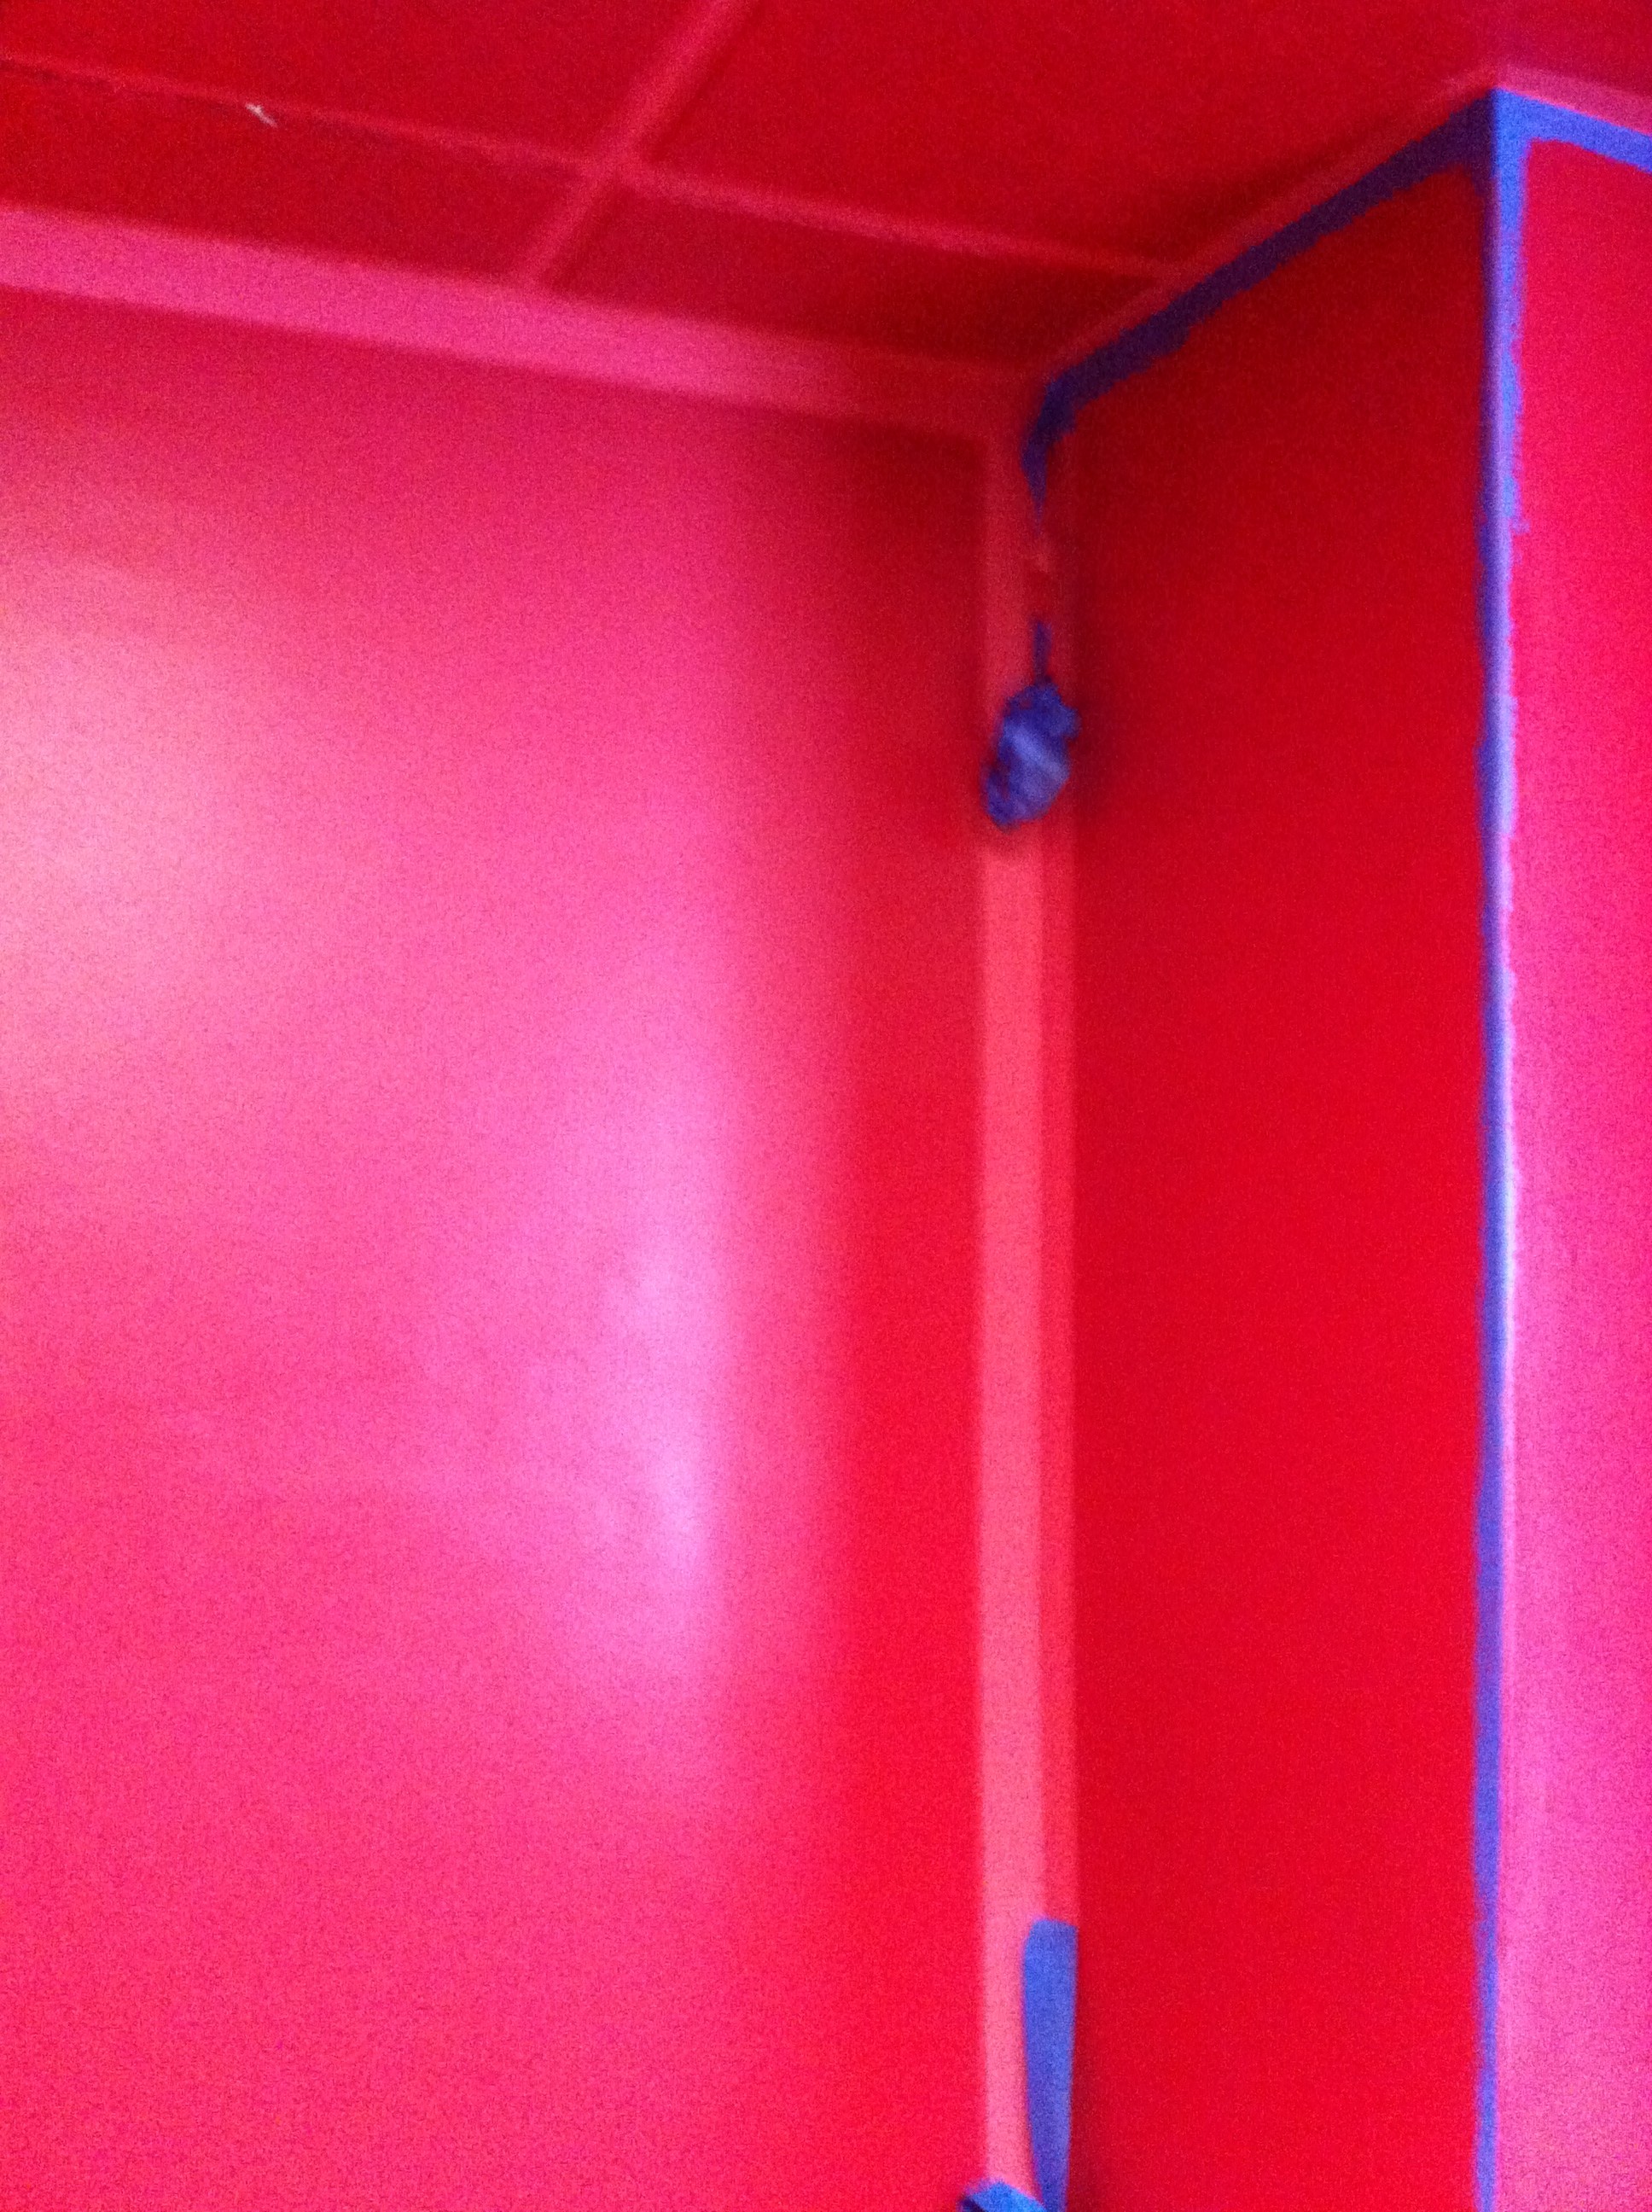
Here's more 'liscious:
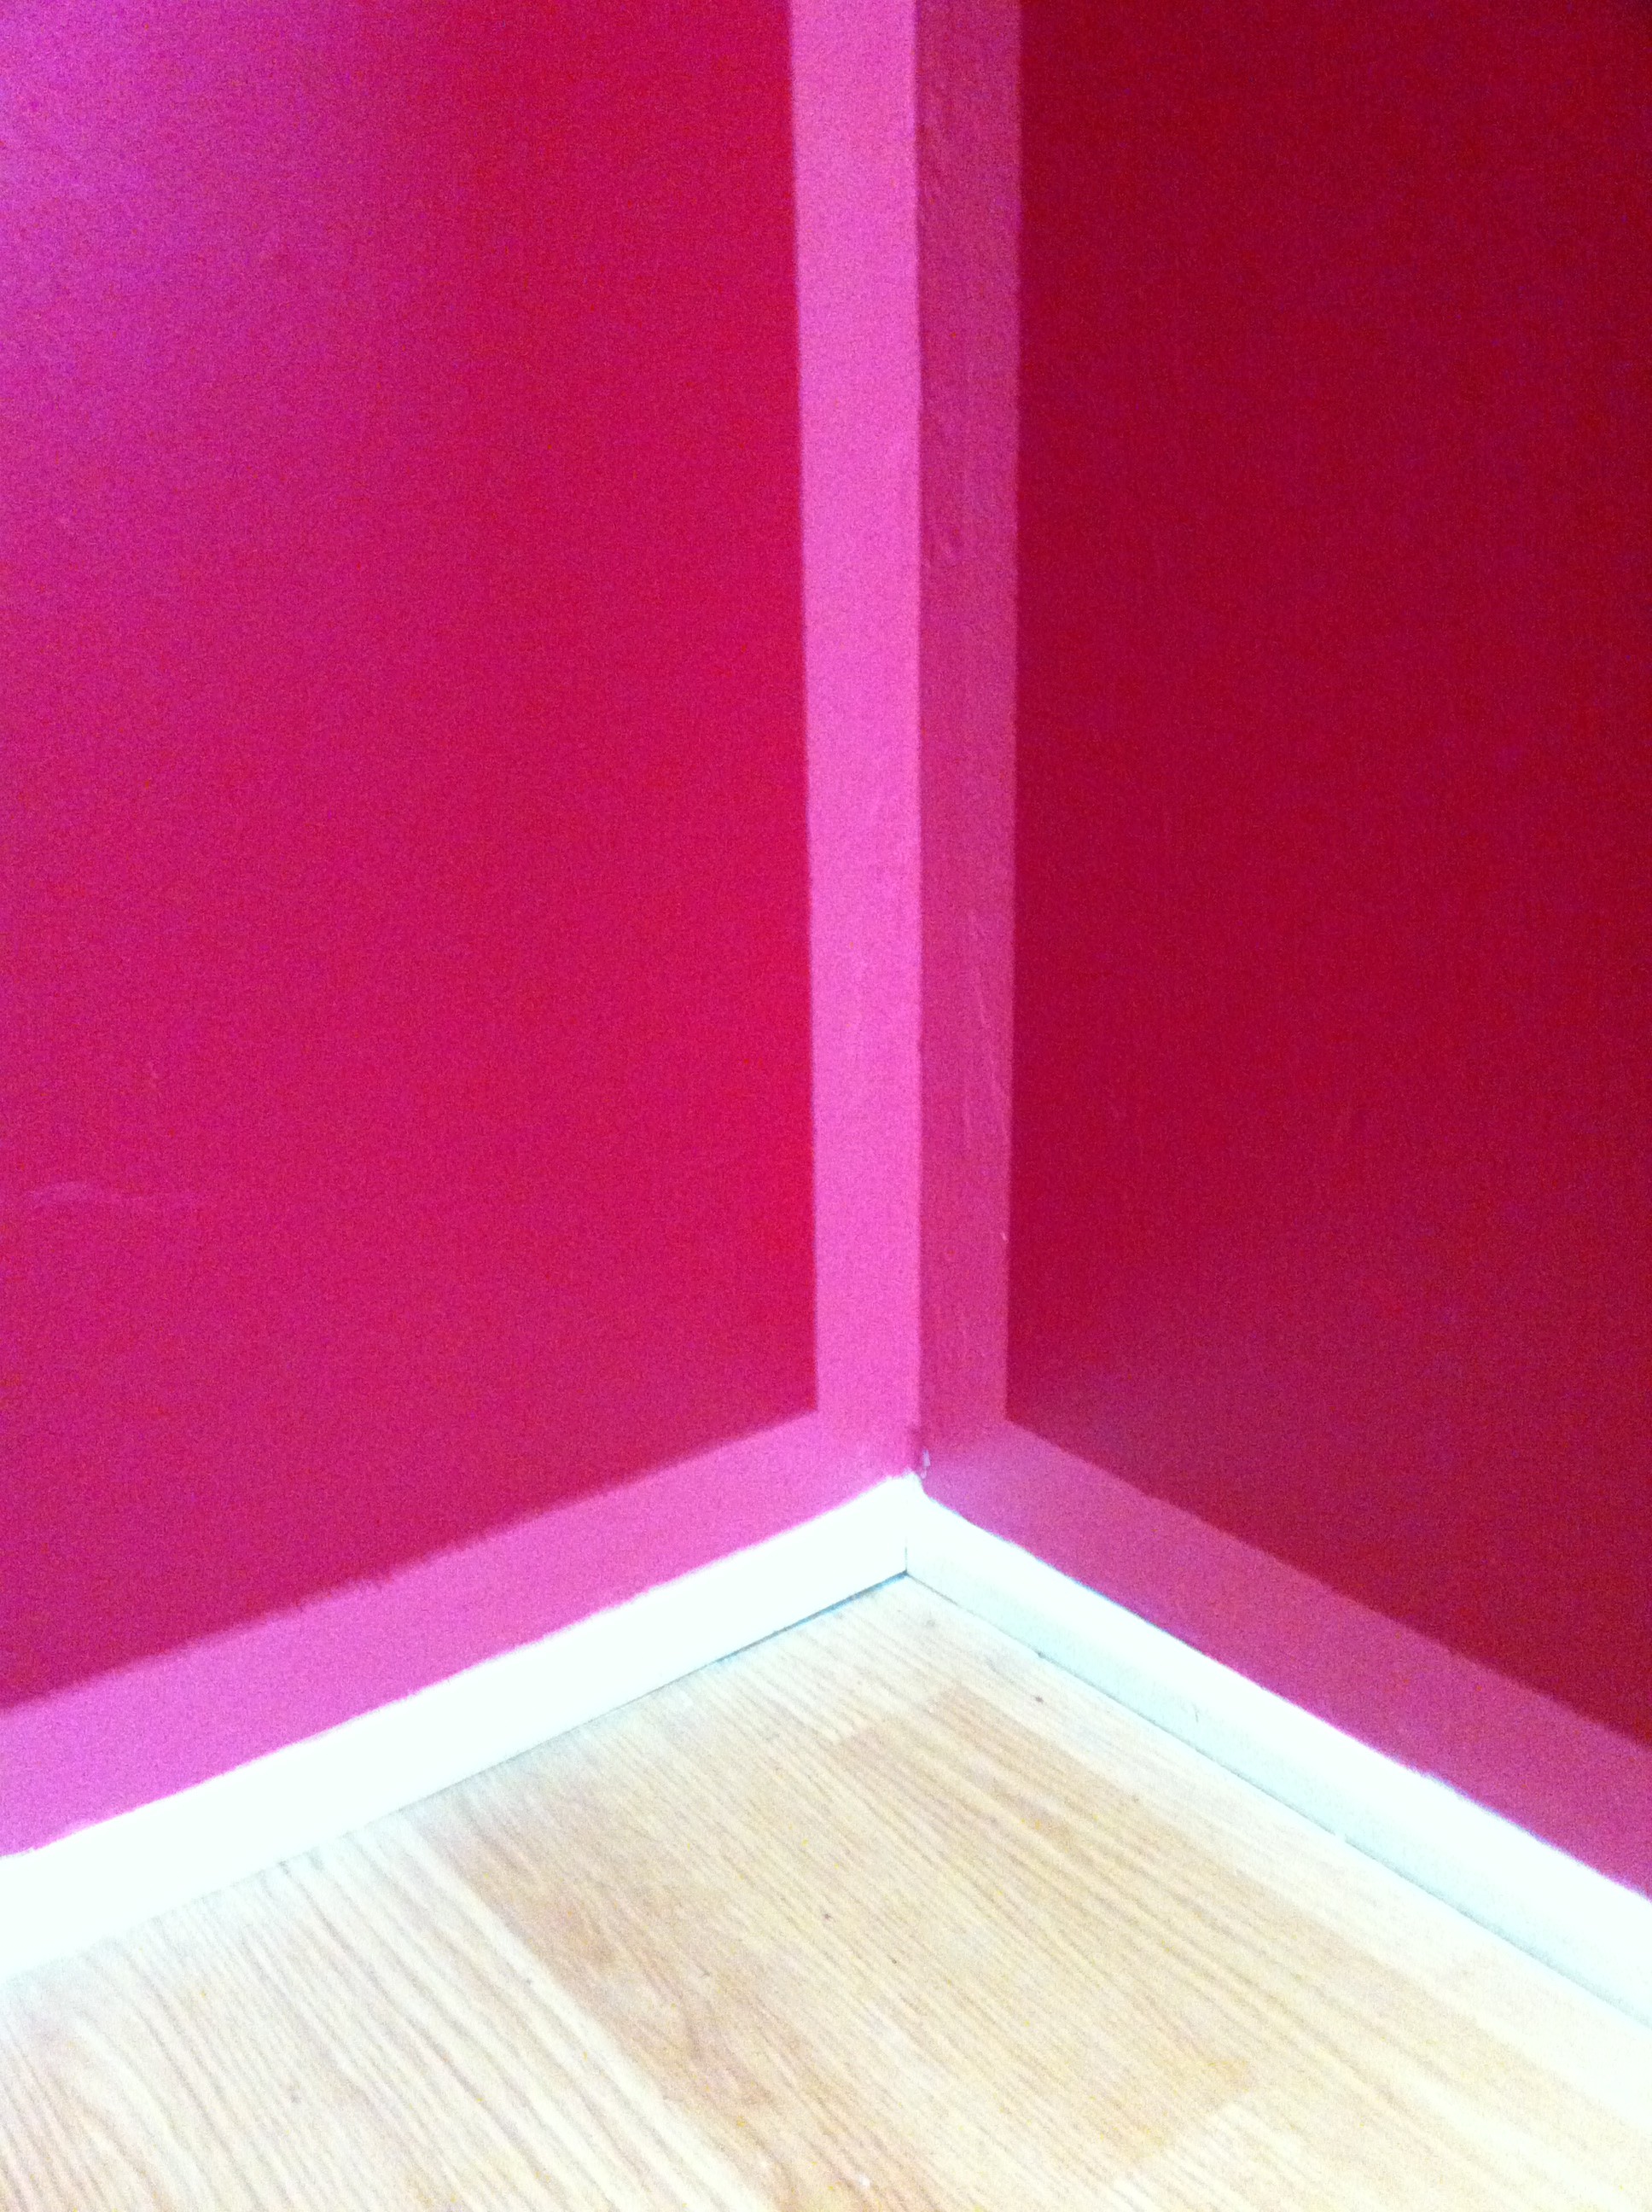


I love that b/c drop ceilings are usually hung in a grid, this paint technique was that much more successful b/c it really highlights that graphic quality. By treating the walls in the same way it becomes a huge style statement for the entire room, giving it both pattern AND color. I'm absolutely SLAIN! And if any of y'all try this technique at home or wherever, please share your pics!!! Happy painting!
