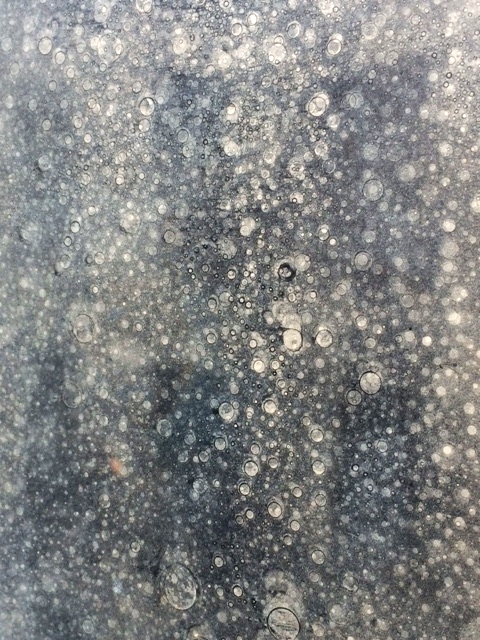
Y'all, the above is a section of a 12" x 12" test piece of clear 1/8" plexiglass diy'd with a faux mercury mirror finish. I have a large-ish area in an interior project that I want to incorporate mercury mirror into but don't have the budget for the real deal for. So, time for some PJDIY up in the place. Luckily, I have the expertise of Chris White helping me with this & here's the super secret formula, revealed just for y'all on Blog-A-Dazzle today:
Carefully wipe away the water droplets with a paper towel and that's IT. Mercury Mirror Dreamzzz Fulfilled. On clear plexiglass. Seriously. In the pic above, the protective backing from the sample piece has been removed, which is why it's reading all beige-y, but y'all can see how transparent it still is in the opening image. This is so chic and is going to save so much $$$ on my project y'all can't even understand (the actual estimate for real distressed mirror costing btwn $8-10K for the area), so I'm so psyched!
To get this look:
* Spray as much or as little water onto your plexiglass
* Spray even passes of Krylon Looking Glass spray, let set a minute or so
* Gently remove the water droplets with paper towel
* Repeat to achieve desired level of mercury mirror distress realness
The water droplets prevent the looking glass spray from hitting and ultimately covering the plexiglass, the more drops you spray in tandem w/ the size of those drops, will determine the level of distressing y'all will get. The other cool element here is that y'all can paint the wall or surface (if applicable) that the distressed plexiglass will be eventually covering, so it will peek through your distressed areas.
I'm sooooo excited about this project-- and don't fret dazzlers-- y'all know I'll be sending progress updates as they happen!


