 More often than not, I find myself mired in some sort of decorating dilemma or another. I'm looking for a certain THING for my apartment, a lamp, a coffee table, window treatments...whatever it is. I scour the market trying to find what I want, and a lot of times-- like a lover-- I find the perfect match! HOT! But, usually, the solution requires that I take matters into my own hands...oh ecstasy! And that's when things get all d.i.y. dirty up in Patrician Court, y'all!
Such was the case when I was looking for a hallway runner. I wanted something patterned, narrow and long. Most NYC apartment hallways aren't these grand wide spaces that can accomodate the standard 2'.5" x 7' runners that you see all over the market. Even if you go for it, at best, you're getting the look of a stubby wall to wall runner and we don't generally respond well to stubby here at Blog-A-Dazzle. No, no. Besides, our hallway has a kick ass mahogany inlay, why would I want to cover up an inlay, y'all?!
Shut the &$ck you, I wouldn't! And neither should you!
So, my runner had to be between 18"-22" wide and at least 8' long. We'd found a temporary fix that was as plain jane as they come, but at least it was narrow AND cheap.
In the meantime I went hunting high and low for my perfect runner. And hunting. And hunting. Sweet summer skipped into azure autumn, leaves changed. Fall brought brisk nights, but no runner. Bummer. And then-- a random stop into West Elm changed my fate...forever. There, I found my runner...but not as I expected-- these things never are, folks-- it was a bath mat that seduced me!
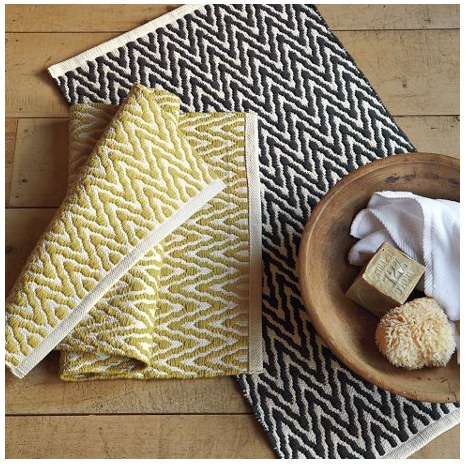
Gorgeously patterned, soft and supple, 20" wide, $29 dollars!...and...what? Only 34" LONG?! Cruel, cruel fate! But don't cry for me, y'all...with some simple d.i.y. enhancements I spurned fate and now...for under $100 bucks, I have the runner of my dreams...and y'all can too. Here's how:
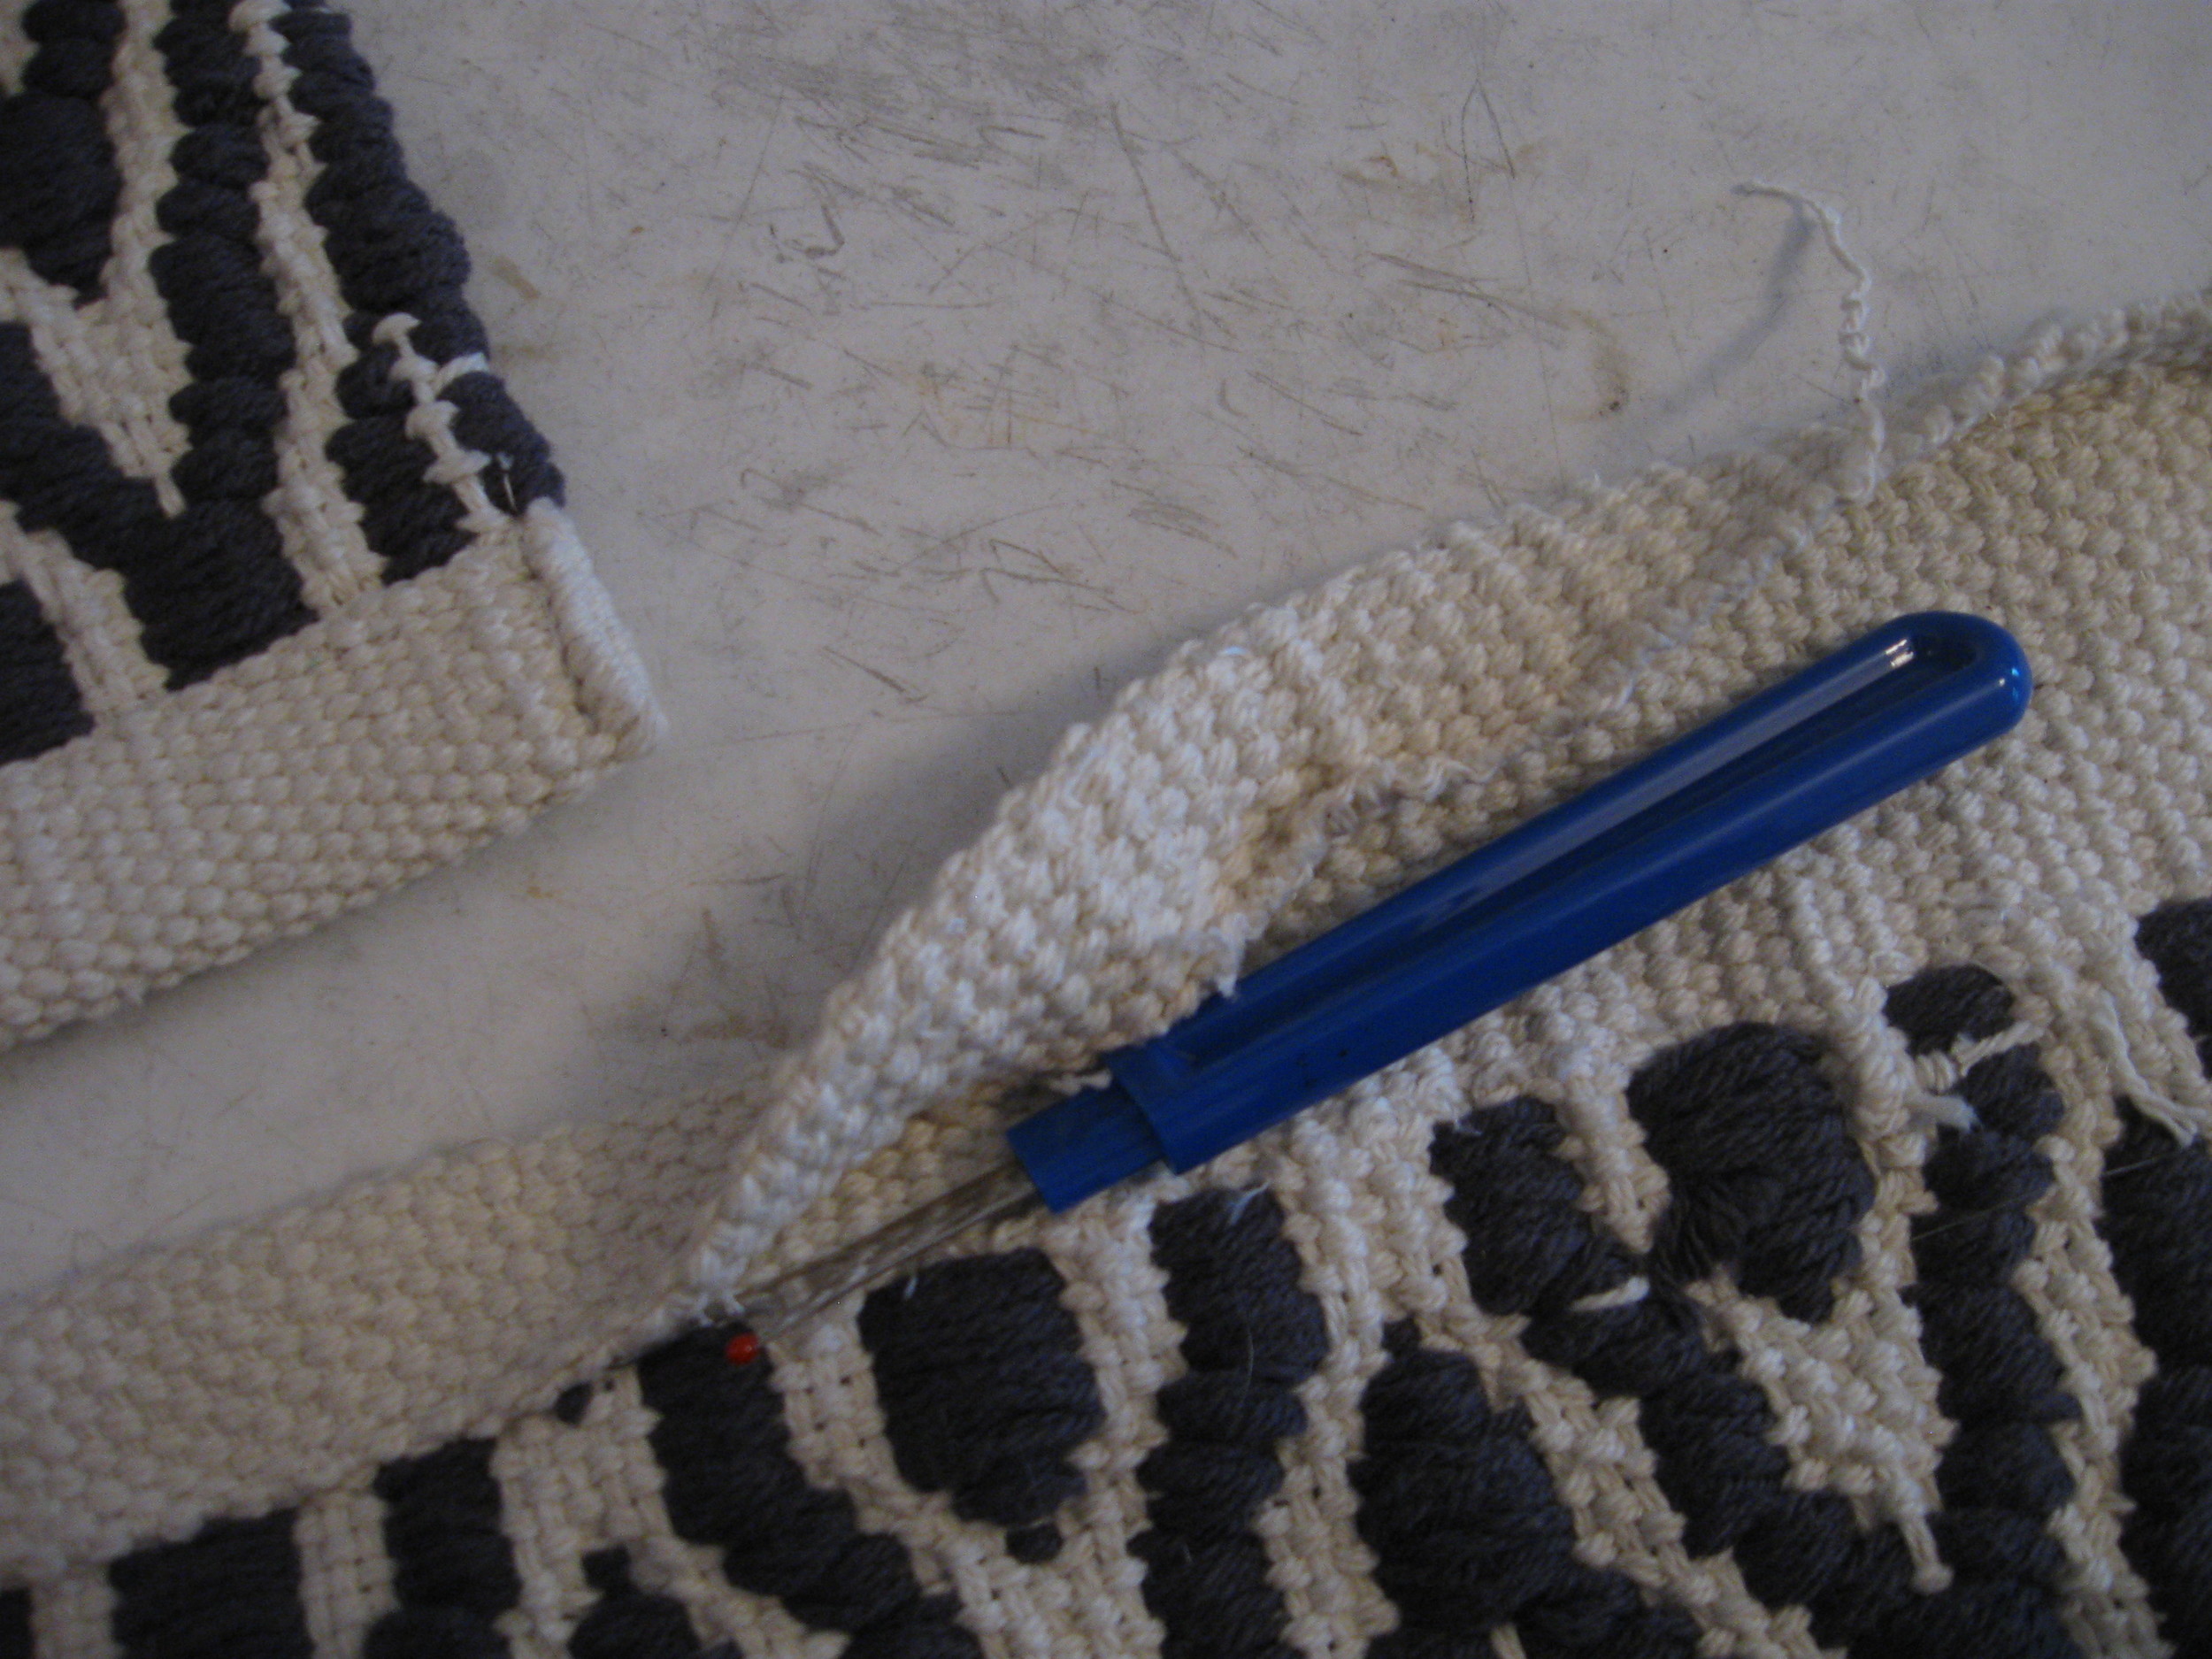
1. Purchase the quantity of mats that will equal the overall length you'll want when finished. I bought 3 to give me a little over 8'. Of note: be sure you confirm the widths of each of your bath mats by holding them up to one another before purchasing...I found there was some discrepancies with widths, though minor, even though it's the same bath mat. The widths must match up to look seamless. Lay them out on floor, end to end and then carefully remove the seams of the ends that are being joined, with a seam ripper.
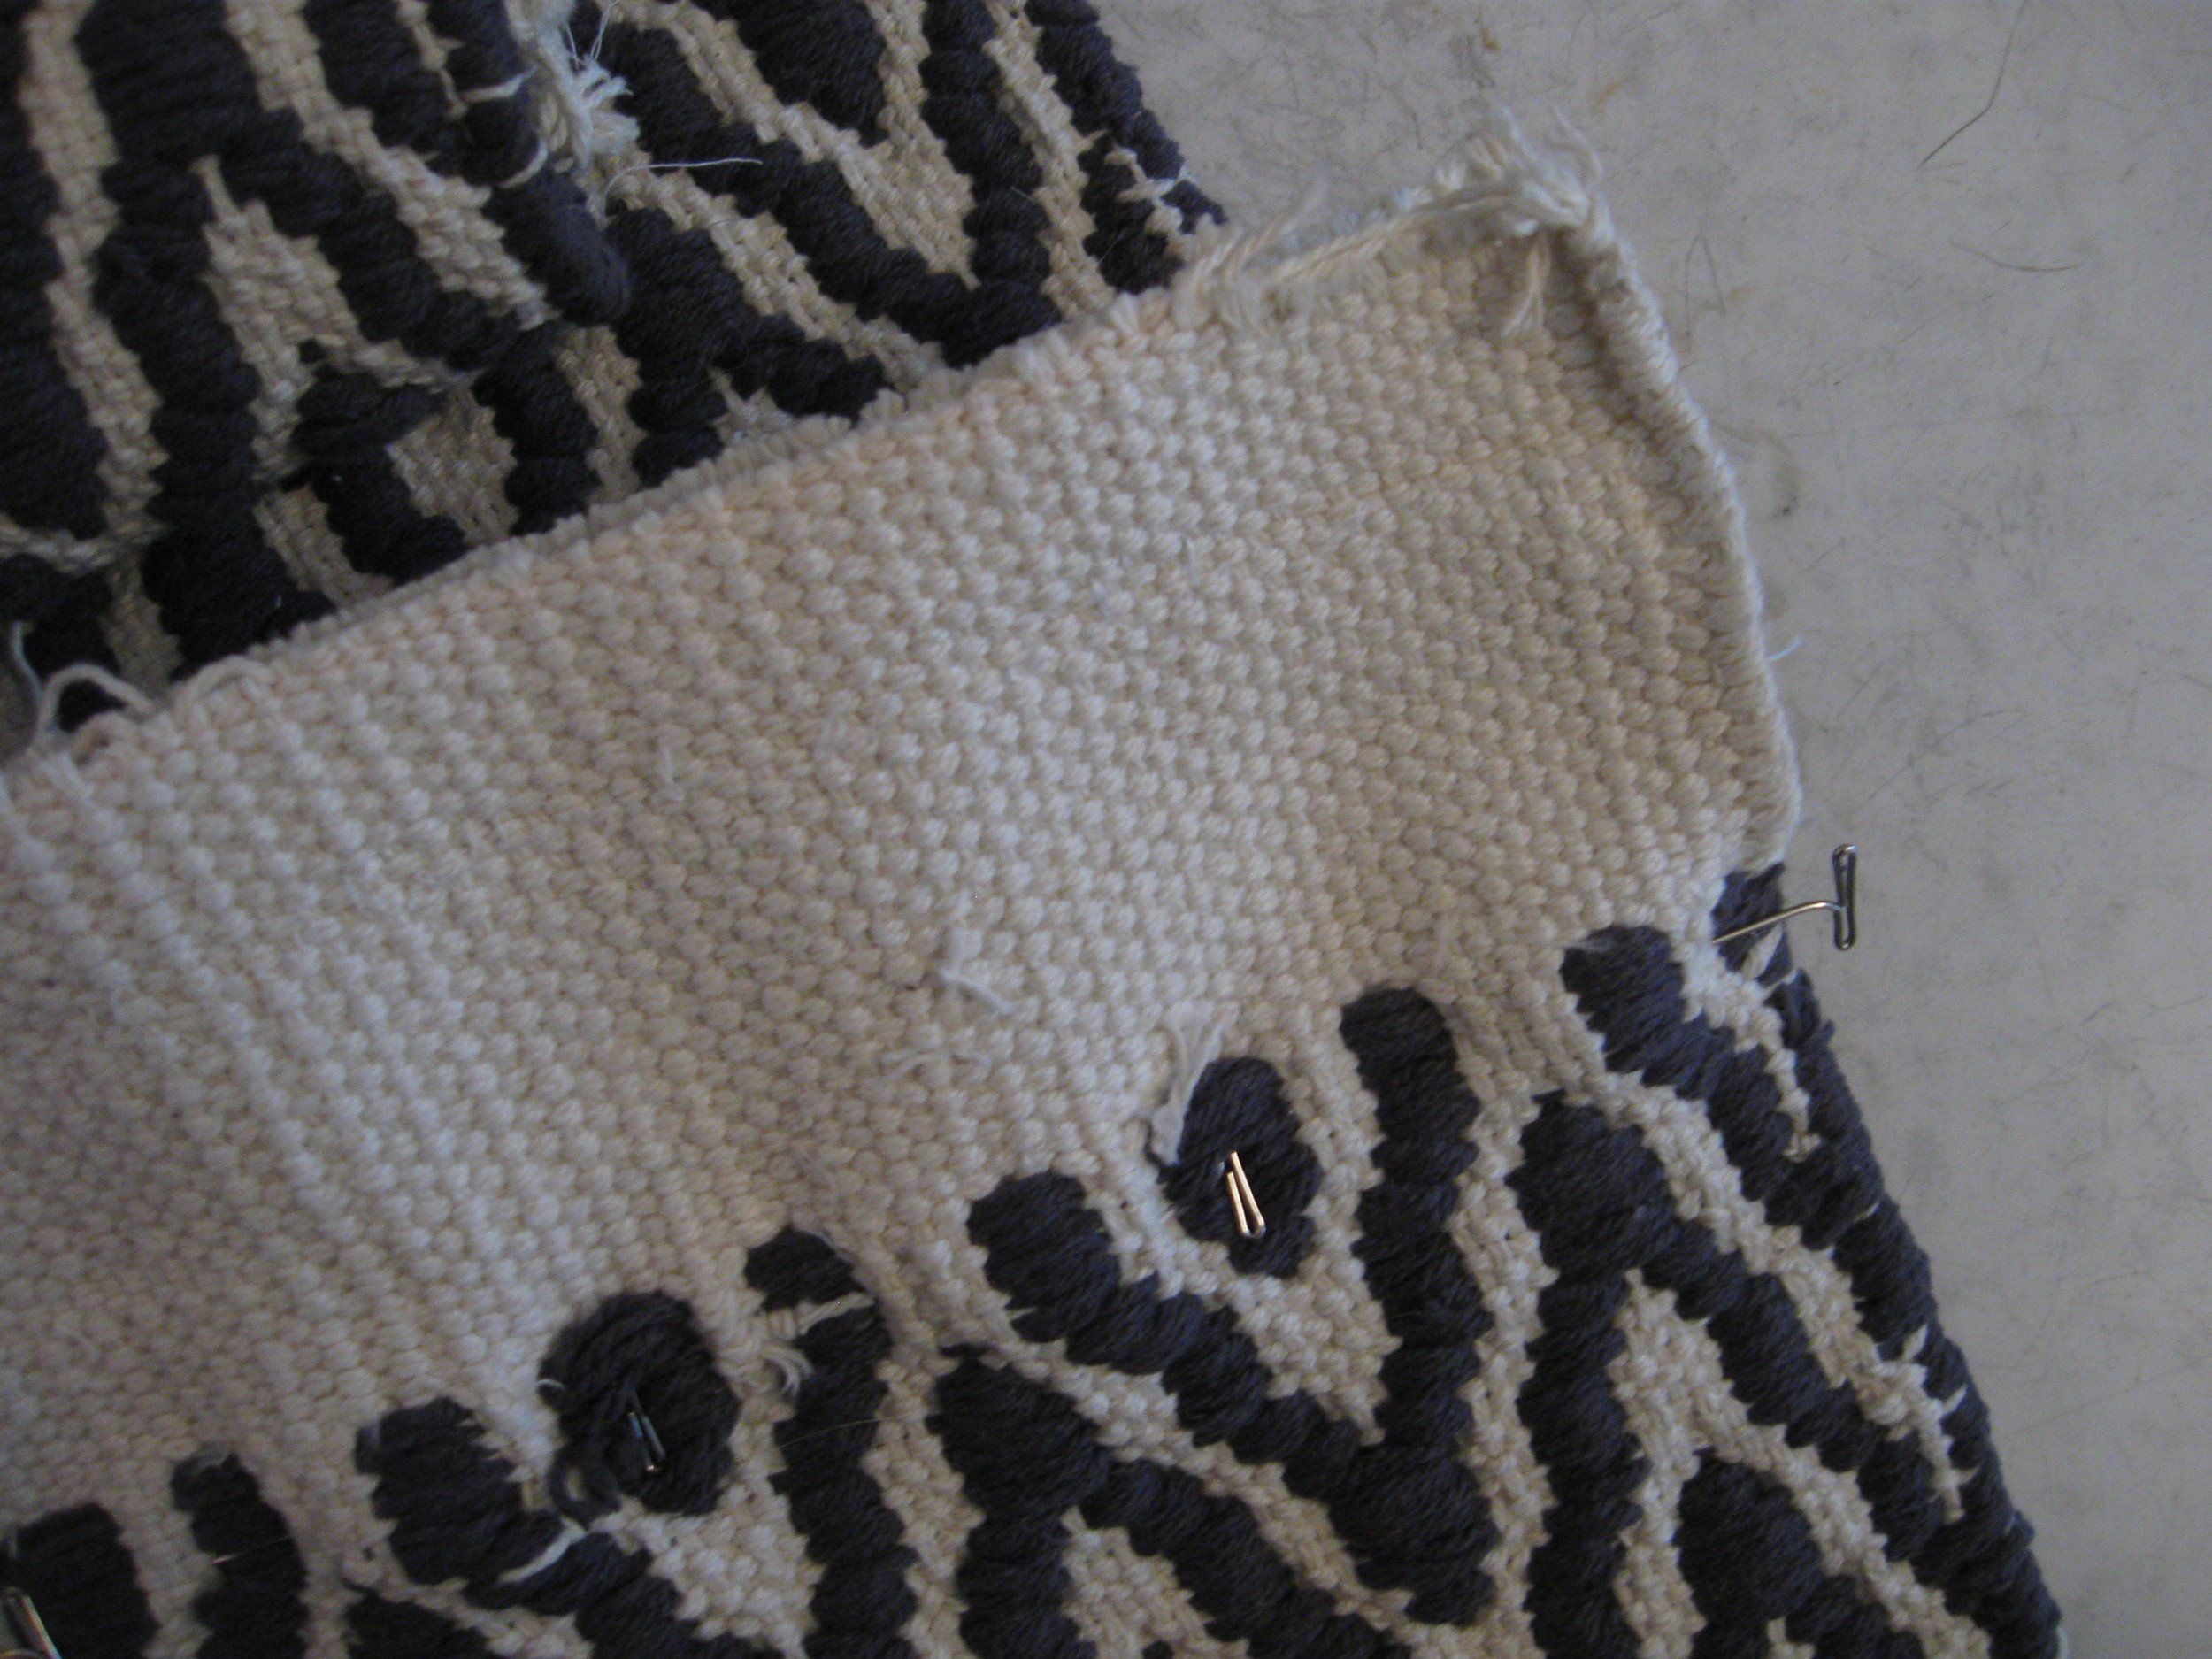
2. Iron flat the loose ends of each bath mat that you removed seams from. Then, align them front to front.

You choose which sides you want to be your front. The pattern is on both sides of the mat, so see which two mats can match up as perfectly as possible...those should be your fronts. Note: the opposite end of your mat is already finished with a hem, so you can simply let that hem dictate which side is your front. Otherwise, you'll have to re-do that end hem as well if you switch it.
Pin the loose ends together, on the back side, being mindful to line up patterns. (I used T pins b/c the mats are somewhat thick and textured).
3. Carefully sew the two ends together. Be mindful to remove T pins as you sew. Go slow with this, y'all, the mats are textured and somewhat plush, so don't force your machine...she'll get angry and stop working!
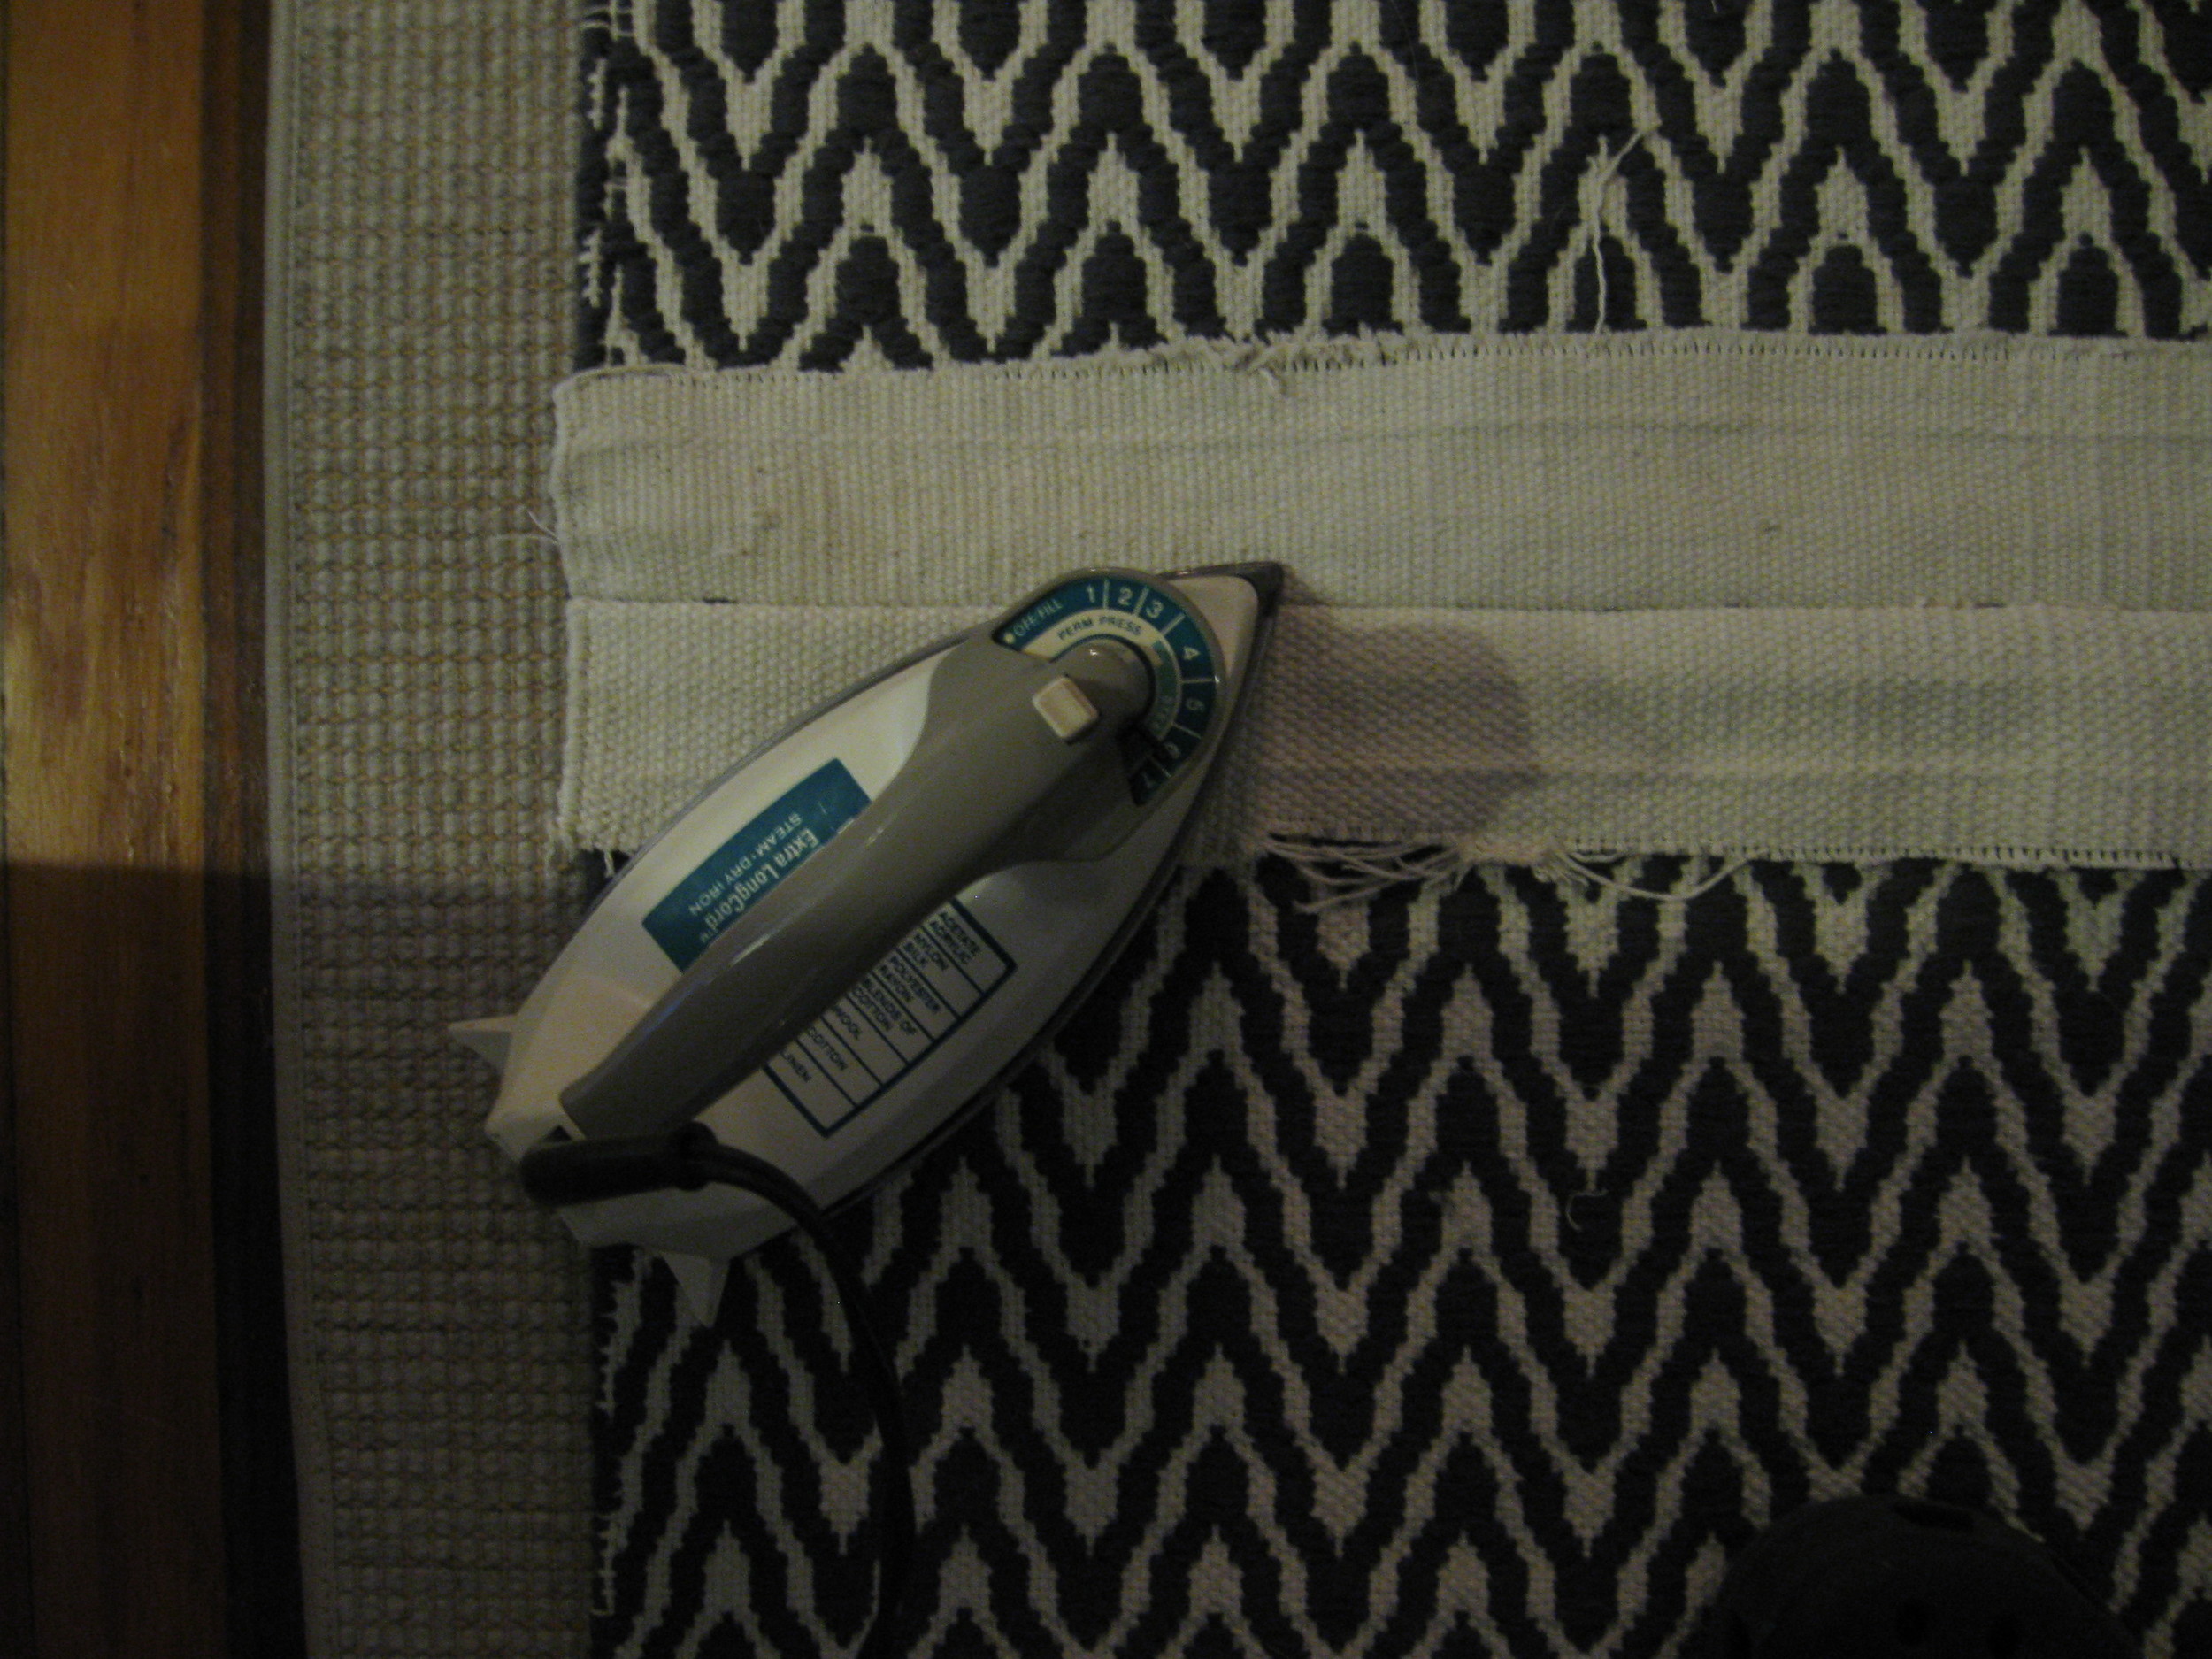
 4. Once sewn, lay rug, front side down. Iron out the two sides of your new seam.
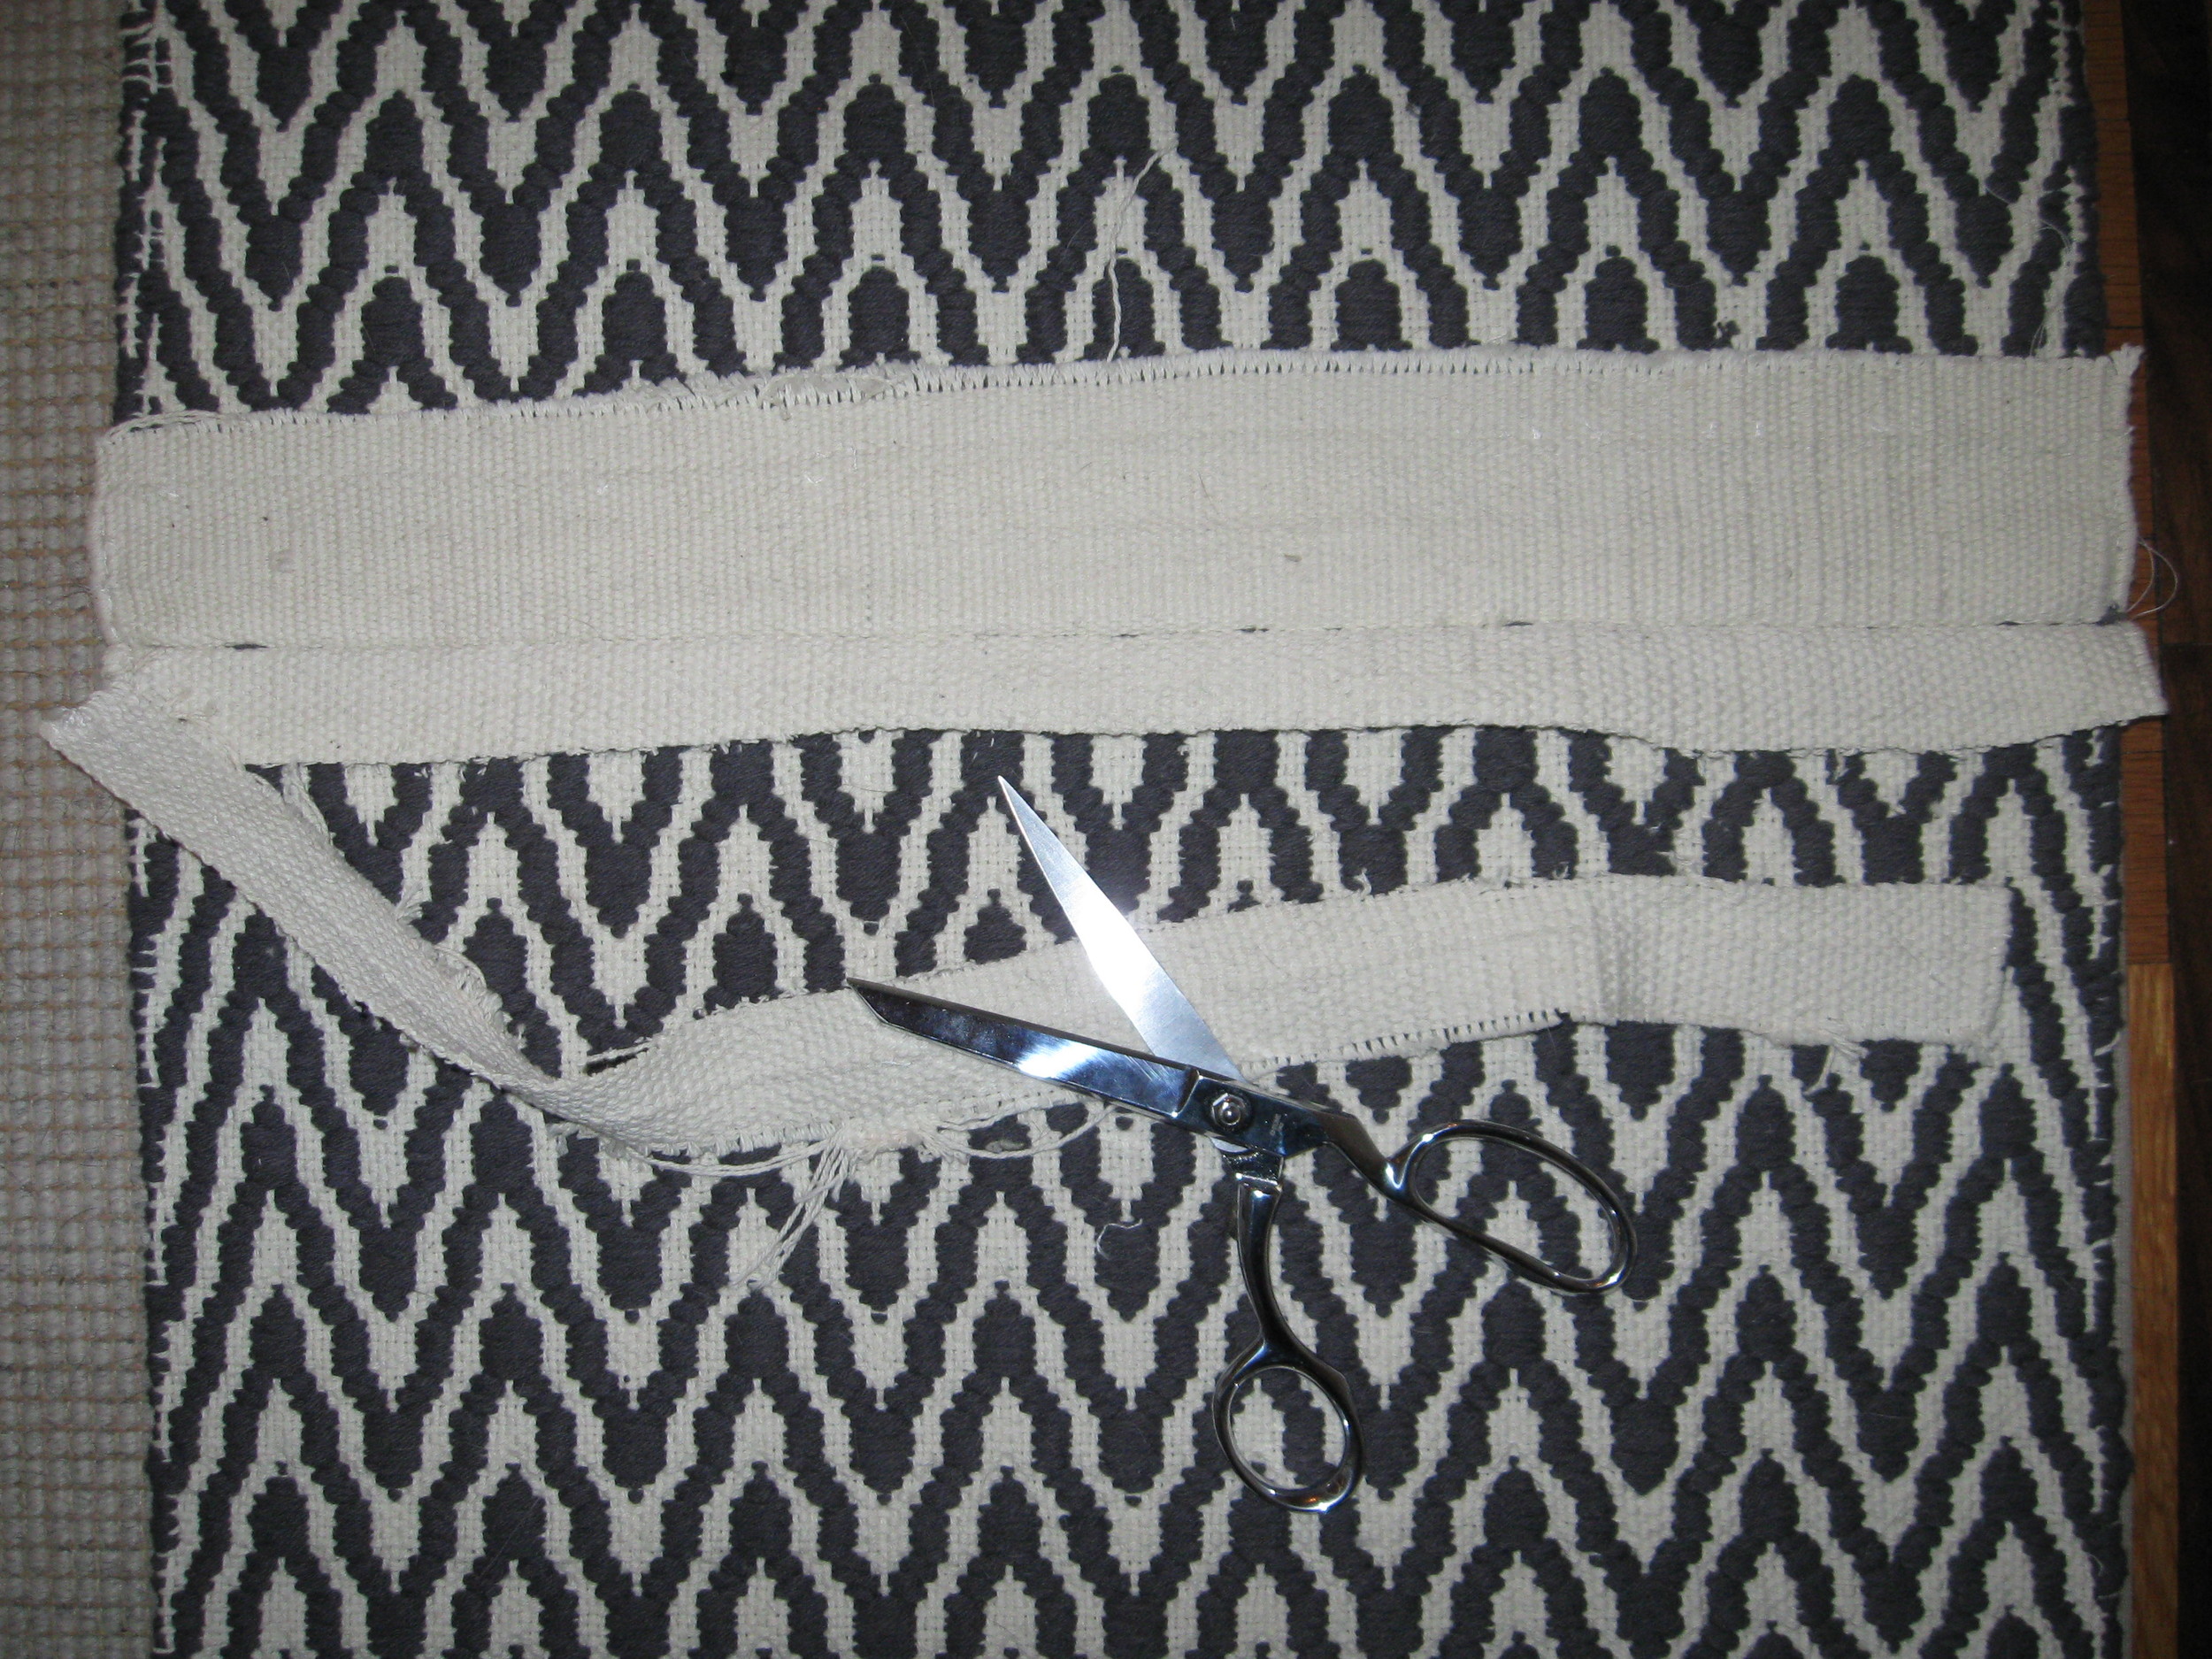
Then trim off excess material.
Iron one last time and flip over your new rug, y'all! Safety first: make sure you use a non-slip rug pad and enjoy...our dog Brandon sure is!


